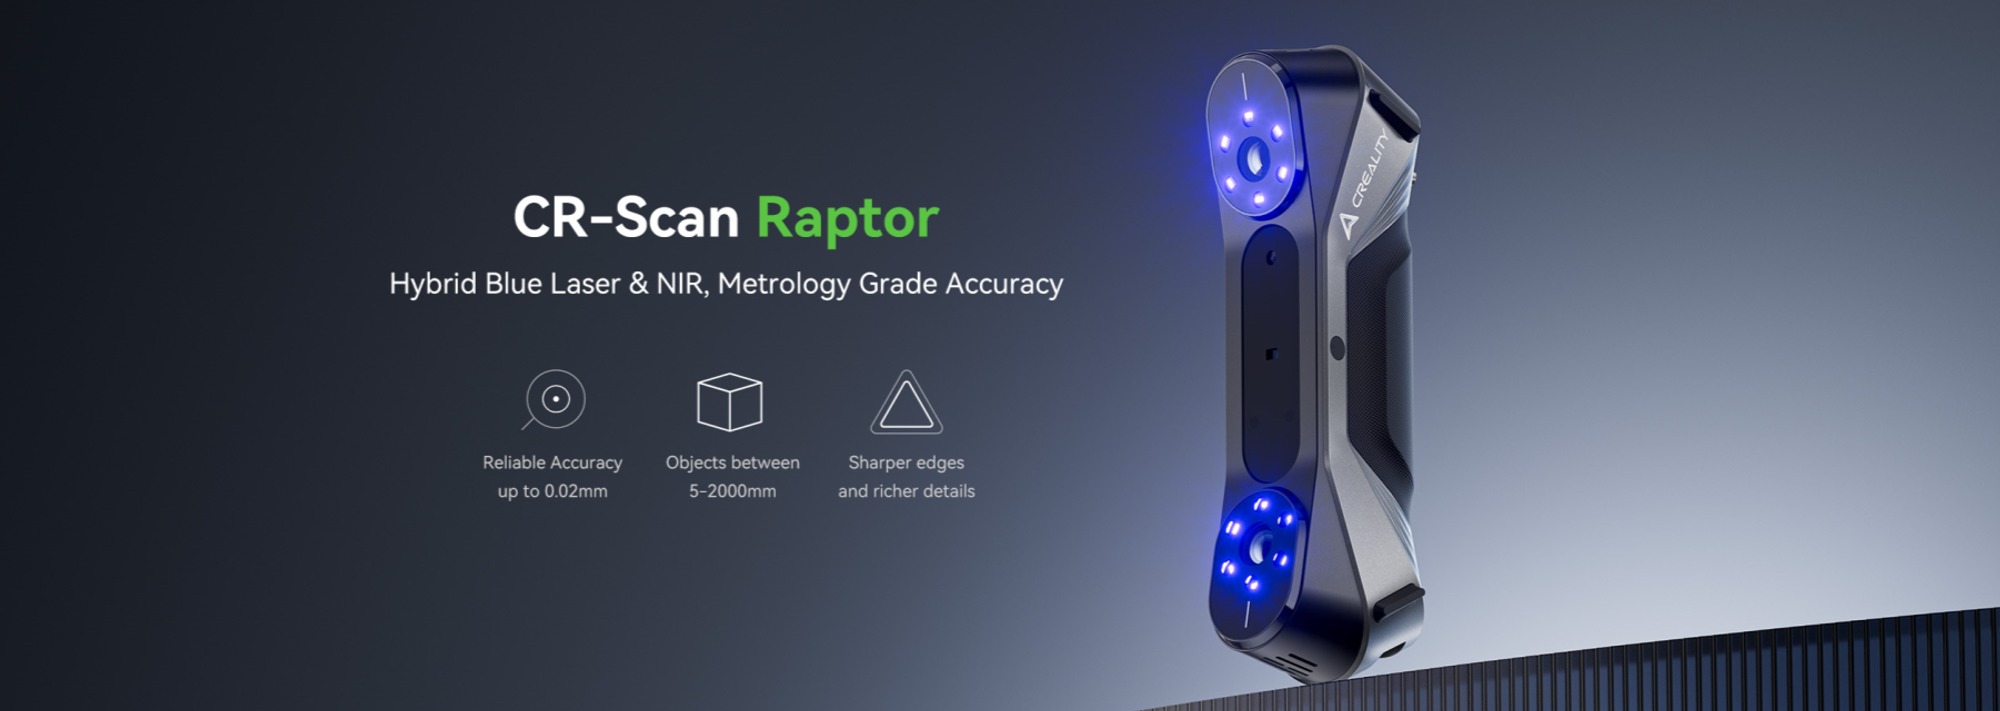
CR-Scan Raptor is a 3D scanner with metrology-grade accuracy, with a maximum accuracy of 0.02mm. Using a blue parallel 7-line laser and a 2.3-megapixel high-resolution camera for scanning, it produces richer details, and sharper edges, and restores the 3D shape of the object accurately. Using an all-glass lens with a large depth of field and low distortion, small objects (e.g. coins or bolts) and large objects (5-2000mm) can be scanned easily.
In addition, it also incorporates infrared structured light technology, which can achieve marker-free point scanning and can scan faces, human bodies, cultural relics, and other objects.
It has high precision, wide adaptability, low dependence on powder spraying, and can directly scan many black and metal objects. Unlike other industrial-grade line laser 3D scanners, it can also obtain the full-color texture of the object surface. With 12 white LED supplemental lights, it can obtain clear textures even in dark light environments.
Scan Configuration
CR-Scan Raptor 3D scanner includes two scanning modes: blue light scanning and infrared scanning.
Blue light mode is suitable for scans that require higher accuracy and detail. It requires circular reflective marker assistance for scanning. For smaller objects, markers can be affixed to the desktop or scanning pad, and then the object can be placed on the desktop or pad for scanning. For larger objects, markers need to be affixed to the surface of the object.
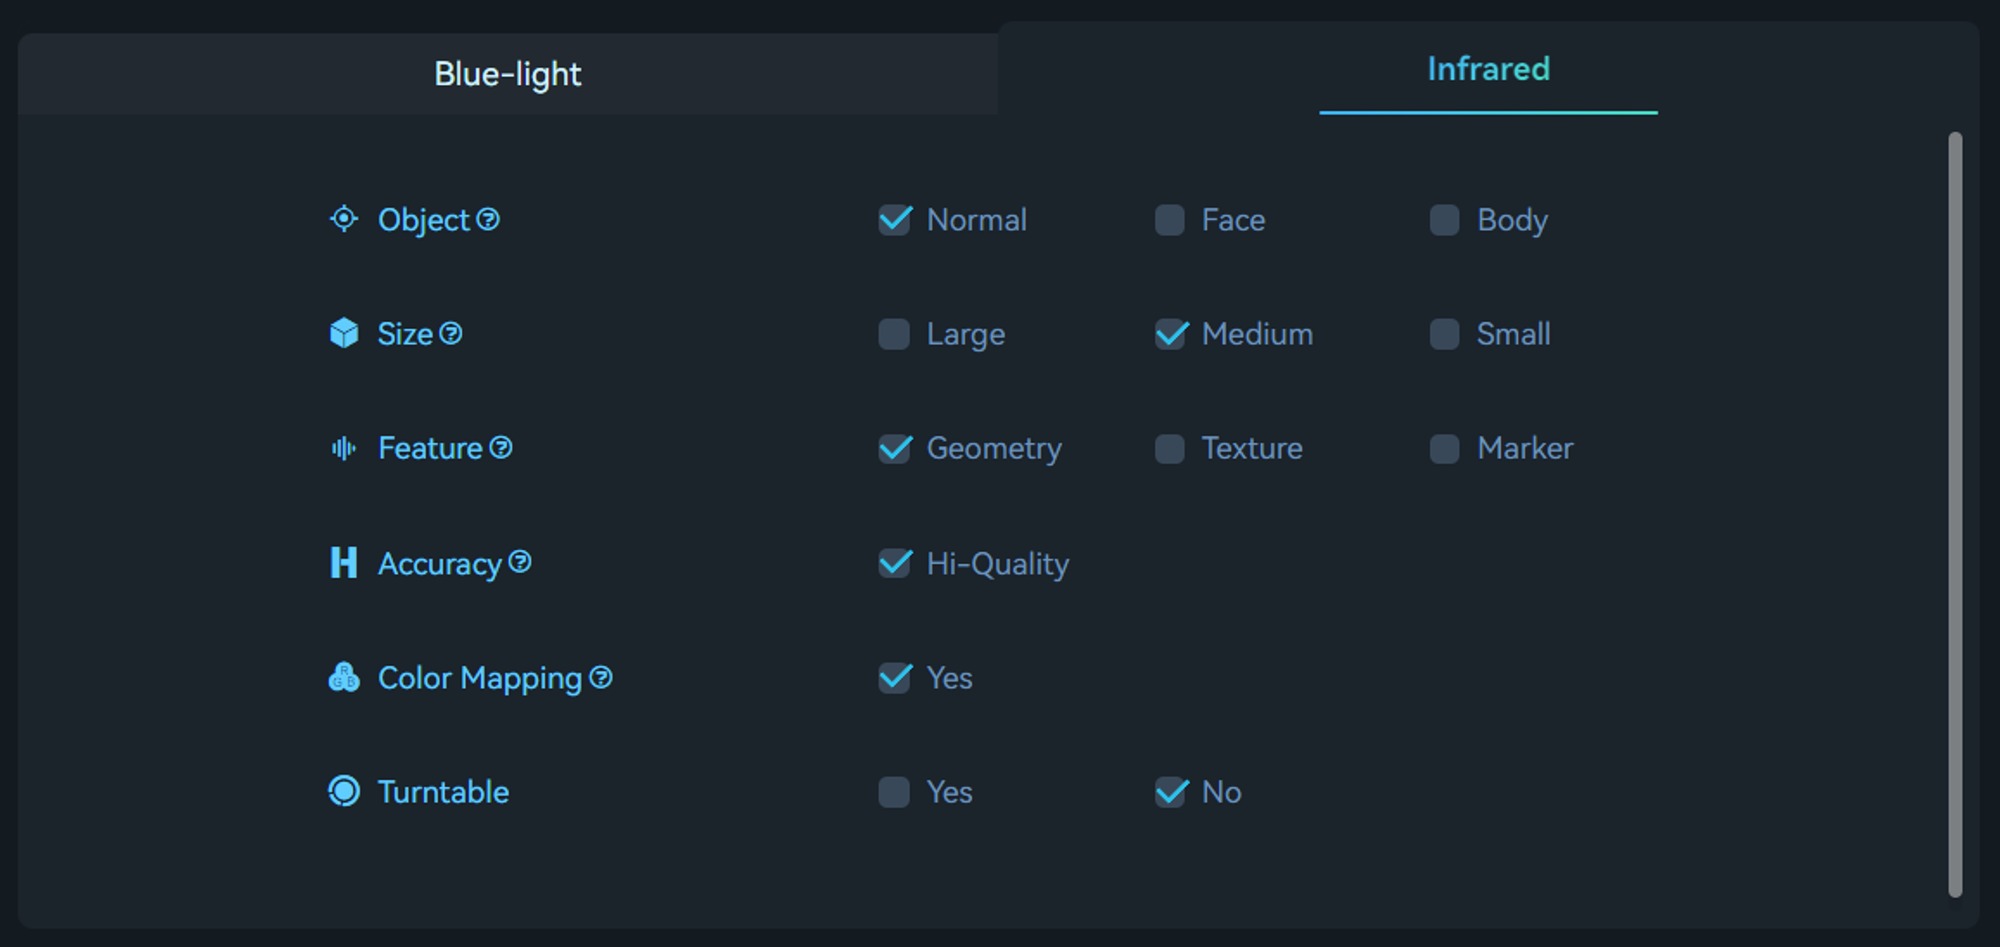
Infrared mode is suitable for scanning larger targets such as faces, bodies, and sculptures (150-2000mm). It enables markerless scanning and also supports marker-based scanning and texture feature scanning.
Basic Terms and Concepts
Scanning Distance
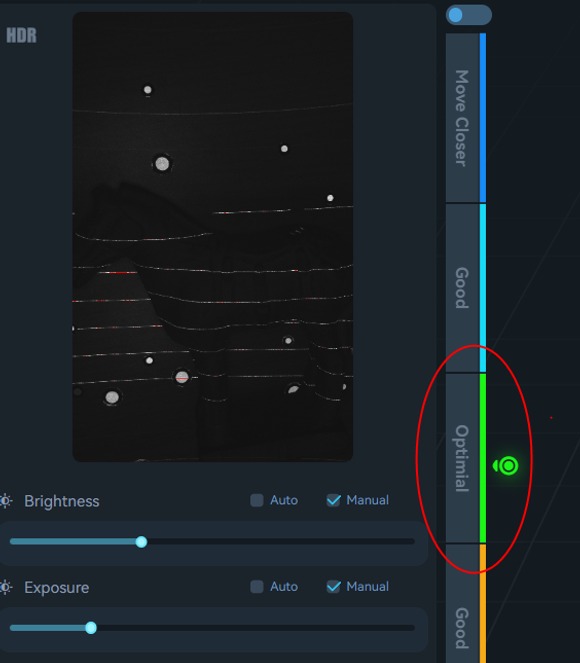
The accuracy of all scanners is related to the scanning distance. Generally, the closer the scanner is to the target while still obtaining point clouds, the higher the accuracy. The Raptor scanner has a minimum working distance of 15cm and can reach a maximum distance of 100cm. The scanner should maintain an appropriate distance from the object to ensure reliable tracking without losing accuracy. Follow the instructions provided by the scanning software to maintain the “Optimal Distance“.
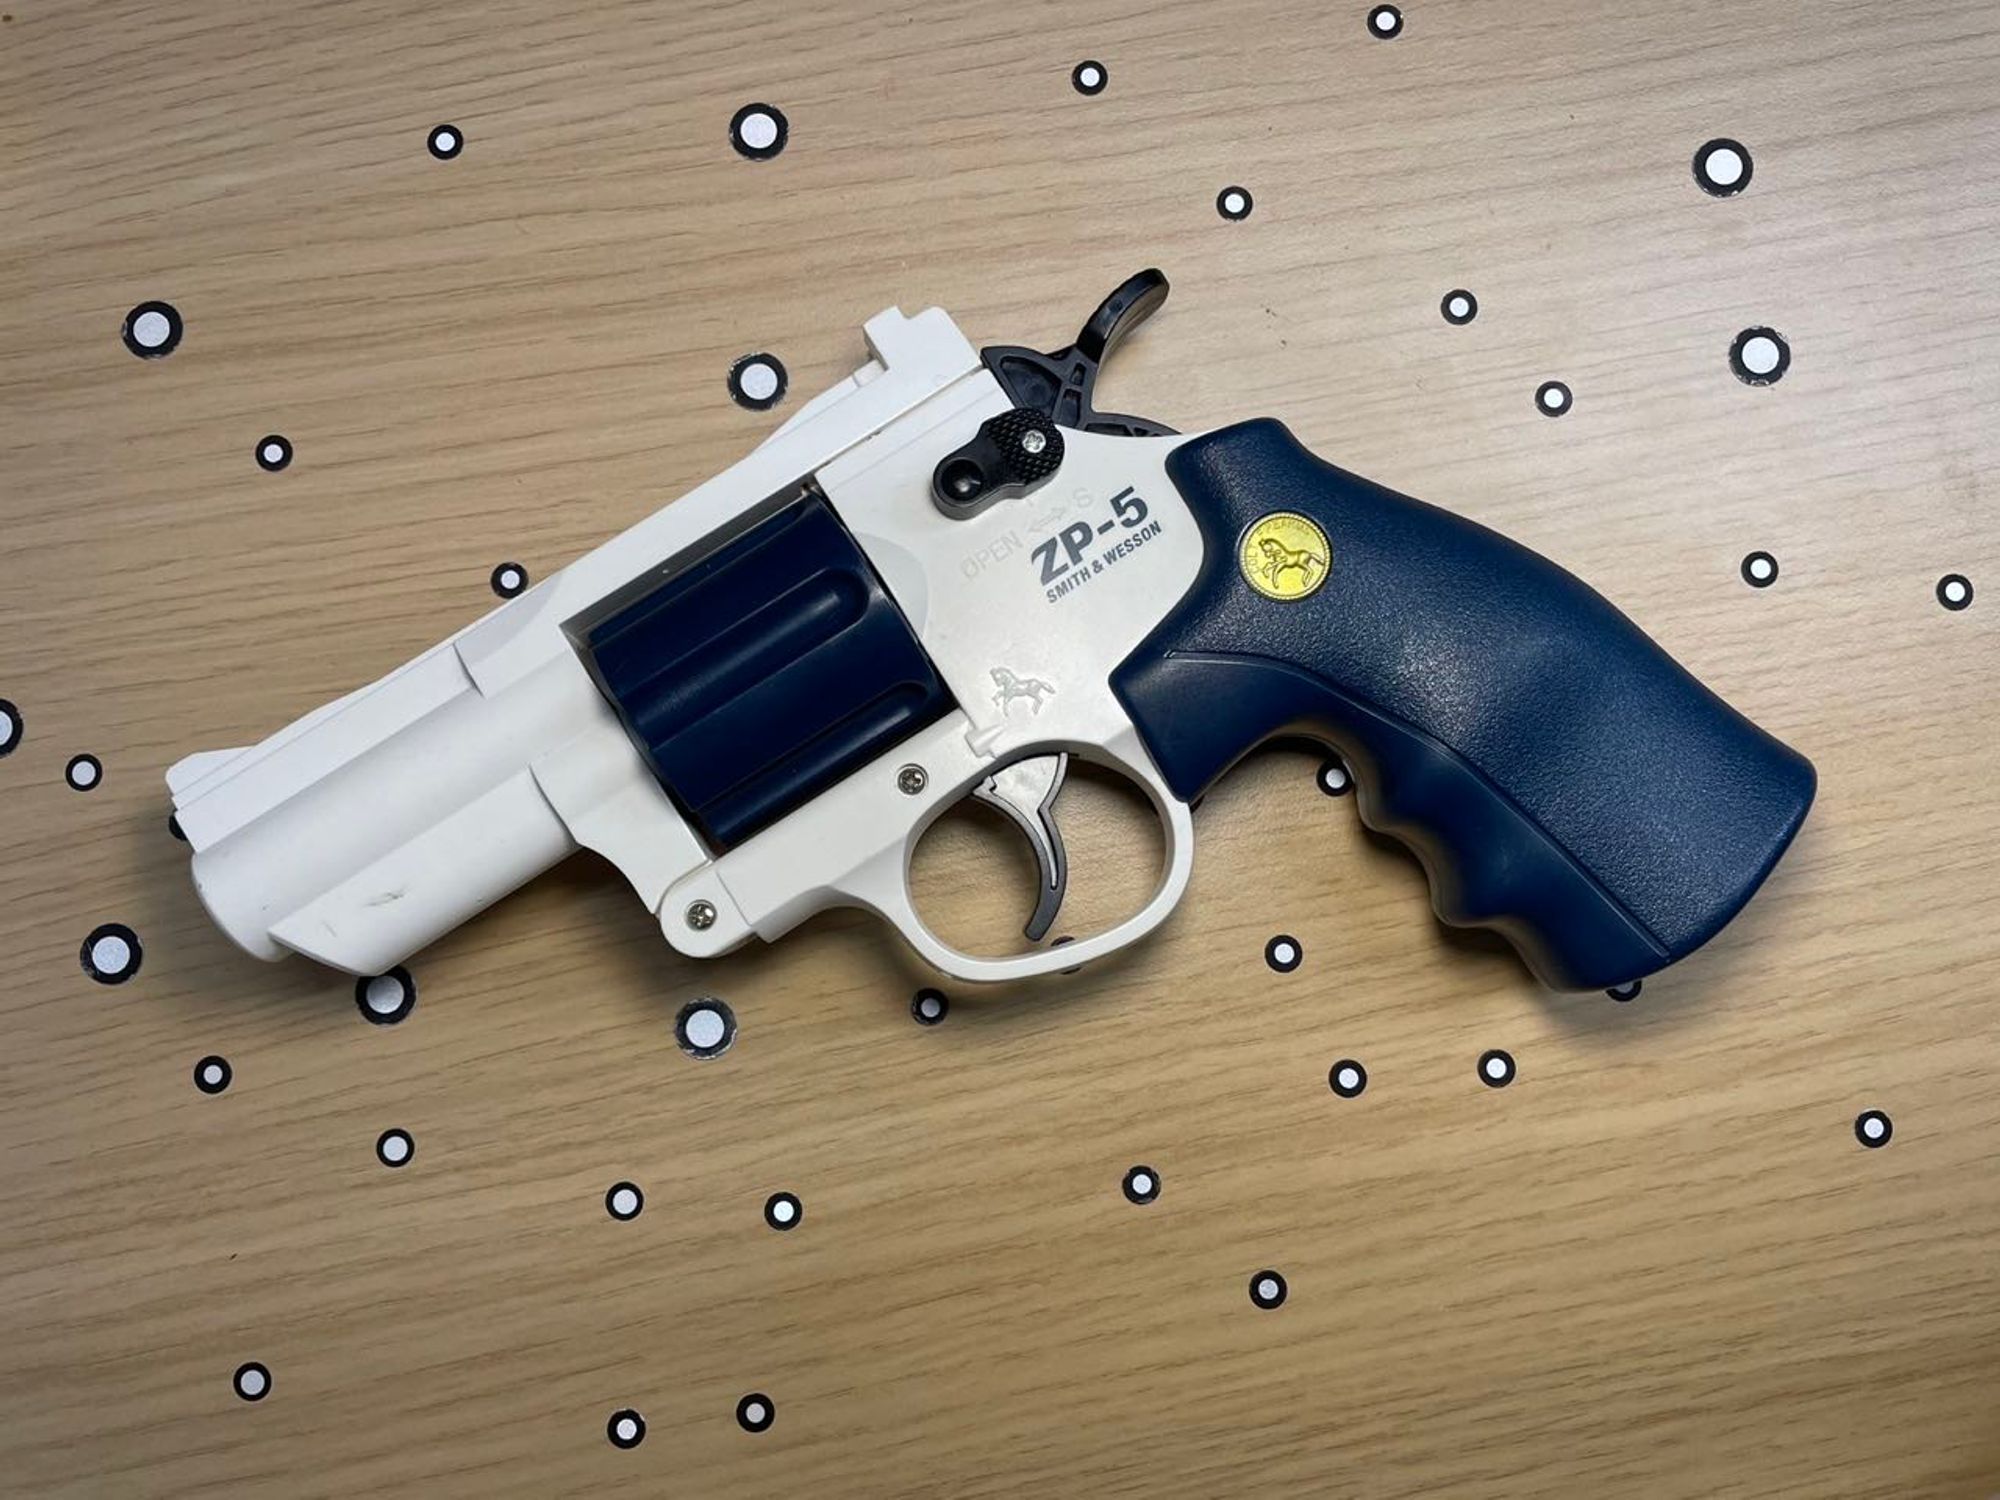
Markers
To use the blue laser mode of the CR-Scan Raptor scanner, the reflective circular markers are required for assistance in scanning. When the object is small, the marker points do not need to be attached to the surface of the object; they can be placed on the scanning pad or tabletop. However, when the object is larger, the markers need to be attached to the surface of the object, as shown in the following image. Note that, makers should be randomly placed.
Exposure Time
Creality Scan offers two camera exposure control modes: Automatic Exposure and Manual Exposure.
For larger targets, such as faces, Auto-Exposure can be used for scanning.
For smaller objects, automatic exposure may not be accurate. It is recommended to manually adjust the exposure time of the IR camera.
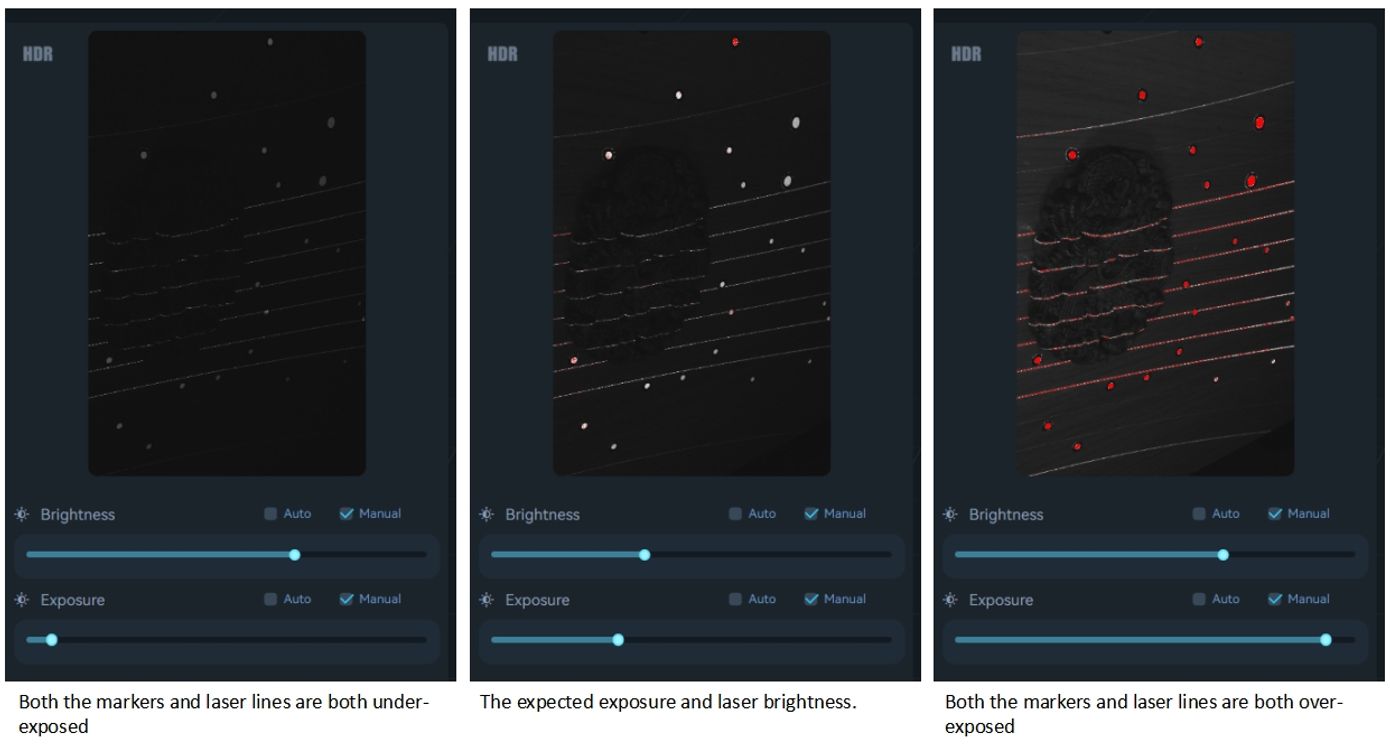
For laser line scanning, we recommend users manually adjust the laser brightness and camera exposure time for better scanning quality. The desired state is to have both the markers and laser lines bright enough but not over-exposed, as shown in the figure above.
Scanning Speed
For line laser scanning, the scanning speed is influenced by the computer’s performance and the speed of the hard drive. For better performance, we recommend users use solid-state drives (SSD) or high-speed mechanical hard drives.
Quality Colormap
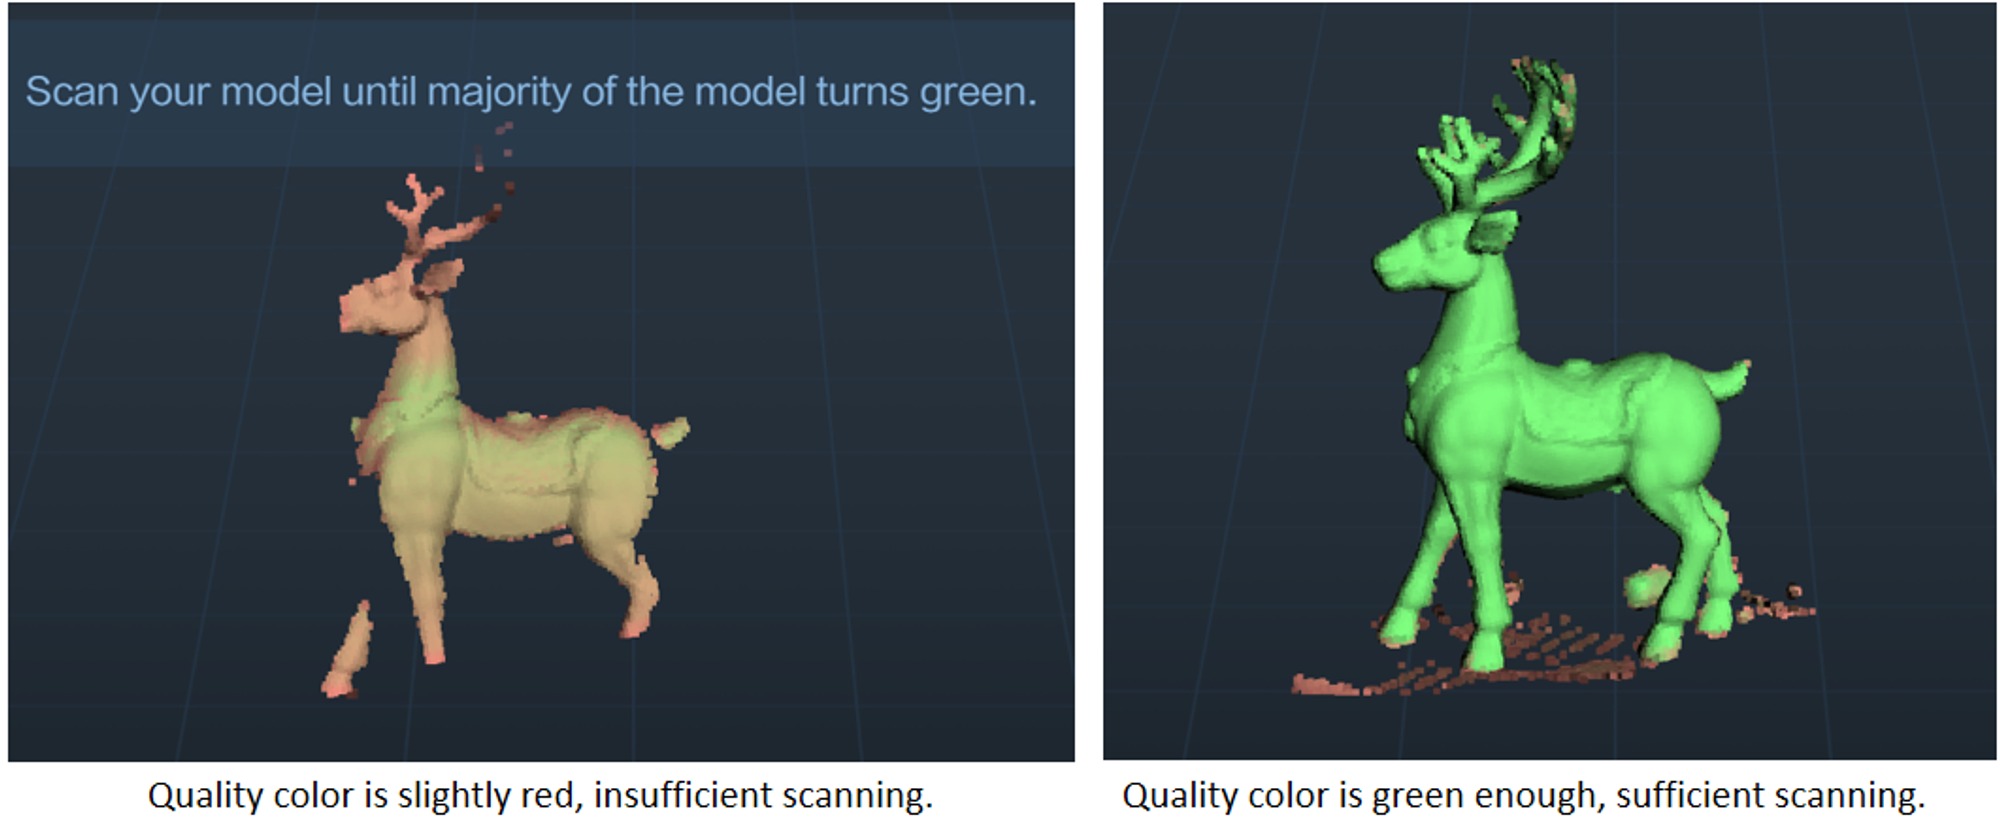
During the scanning process, Creality CR-Scan Raptor Scanner provides a quality colormap for point clouds to indicate whether the current scan quality is high enough. The following image is an example of determining scan completeness based on the quality colormap of point clouds. The object on the left shows a mix of red and green, indicating a relatively poor quality of the scanned point cloud, while the object on the right appears uniformly green, indicating a relatively good quality of the scanned point cloud.
Pointcloud Optimization
After the scanning process, it is necessary to perform point cloud optimization to fuse the scanned multiple frames of point clouds (several hundred or even thousand frames) and obtain a higher quality point cloud.
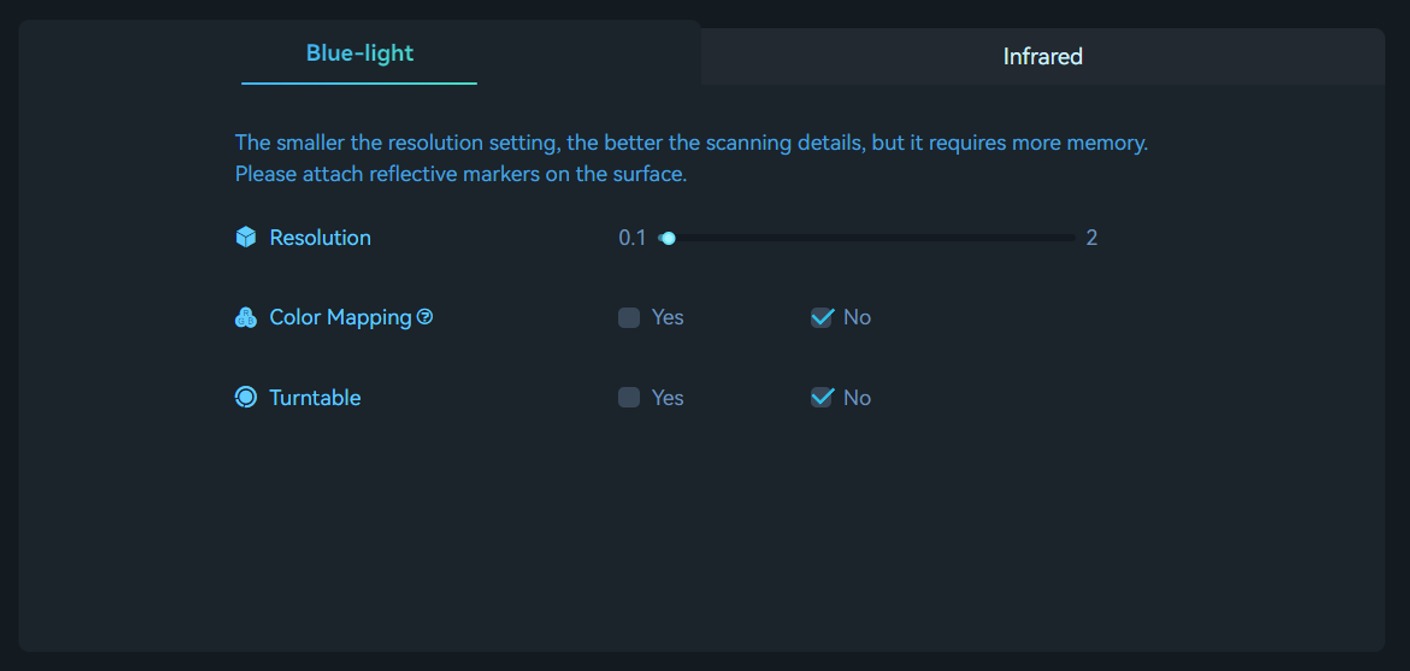
Resolution is one of the important parameters for this process. A smaller resolution setting will capture more details in the model but may require longer processing time. However, setting the resolution too small, such as 0.02mm, may result in missing parts of the model.
When dealing with smaller objects, such as those below 25cm, or when seeking better details, it is recommended to set the resolution to 0.1mm or 0.15mm. Using a resolution of 0.1mm, we can achieve sufficiently good detail for most objects.
For laser scanning, the software requires users to set two resolutions: the resolution in real-time scanning and the resolution in point cloud optimization.
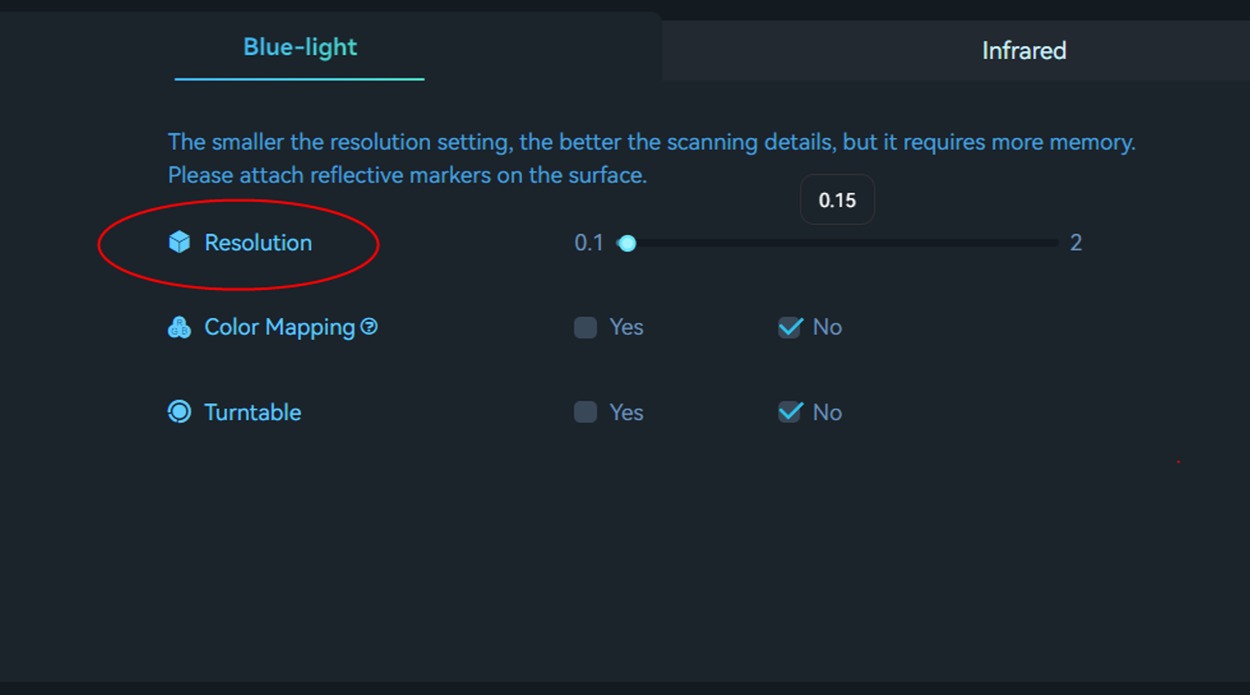
(1) Resolution in the real-time scanning stage. The resolution primarily affects the quality of real-time scanning rendering and does not impact the final 3D model. The smaller the resolution, the finer the model rendered in real-time scanning, but it will consume more memory. For smaller objects, it’s recommended to set a smaller resolution. For instance, when scanning a 10cm part, you can set the resolution to 0.15mm. For larger objects, we suggest using a larger resolution for scanning. For example, when scanning a car door, you can set the resolution to 0.5mm.
(2) Resolution in point cloud optimization. It will directly impact the details of the final model.
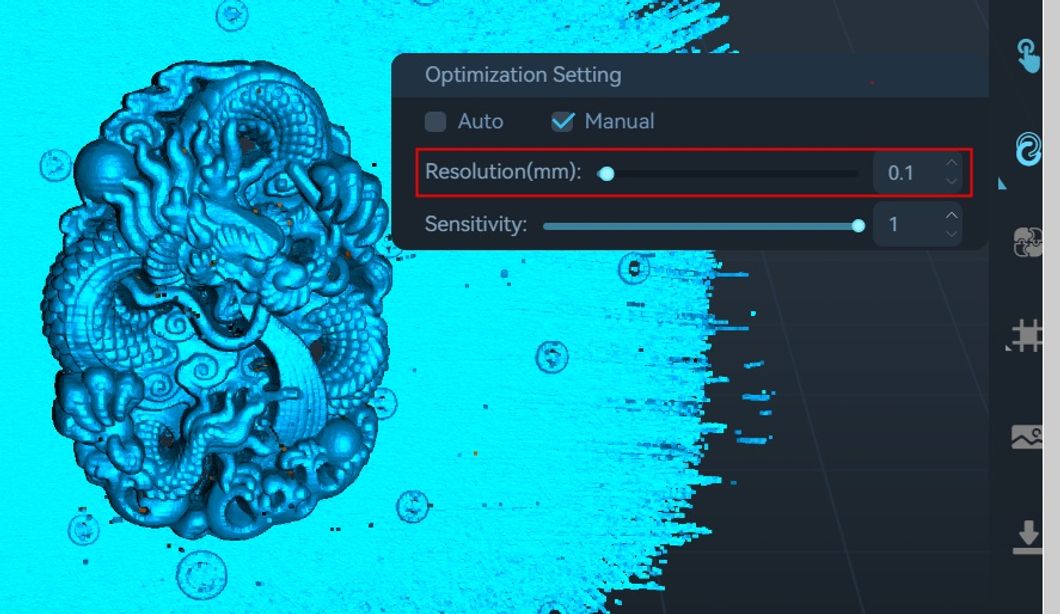
Sensitivity: The larger this value, the more points can be retained. The smaller the value, the more points will be filtered out.
Creality Scan software allows users to perform point cloud optimization multiple times. For instance, if you are not satisfied with the current optimization results, you can modify the parameters and re-run the point cloud optimization step.
One-click Process
One-click processing is designed for beginners who have little experience with 3D scanners. If you require better scan quality, it is not recommended to use One-click Processing and instead manually adjust the parameters for each processing step.
Model Editing
Creality Scan provides point cloud editing functionality.
After scanning is complete, you can immediately use the point cloud editing feature to remove unnecessary parts, which can accelerate the data processing process.
After the point cloud optimization is complete, users can further select and delete unwanted points in the point cloud.

Meshing
The meshing operation converts point cloud data into a triangular mesh model.
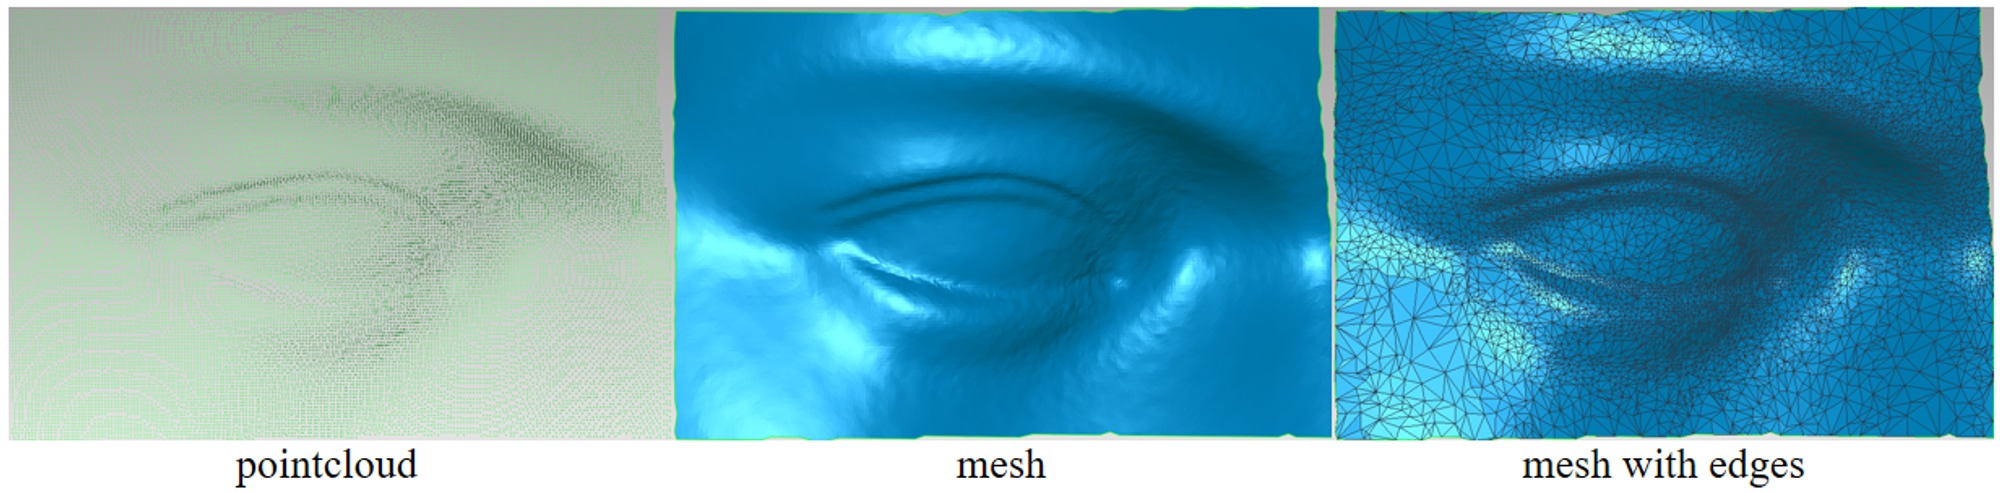
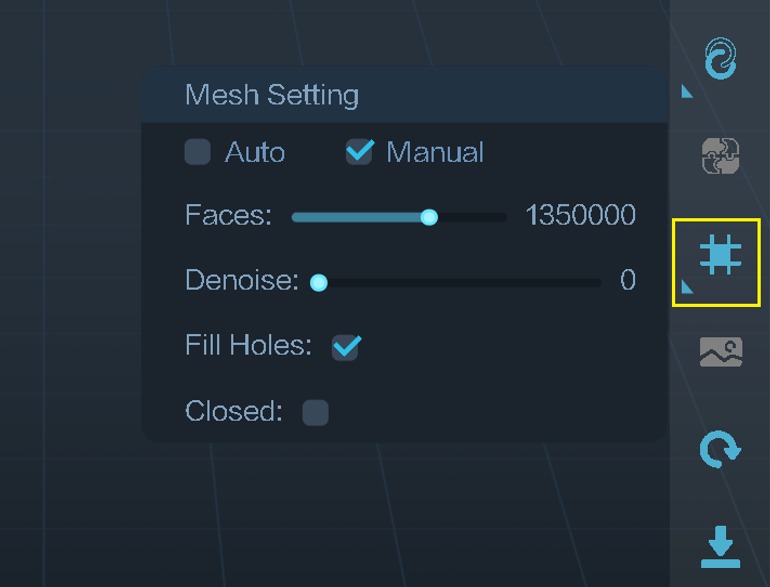
During the process of meshing, you can manually configure the number of faces of the generated mesh, adjust the level of smoothness of the mesh, and choose whether to fill holes and close the model.
The more faces in the mesh, the finer the model, but it also takes longer to generate the mesh.
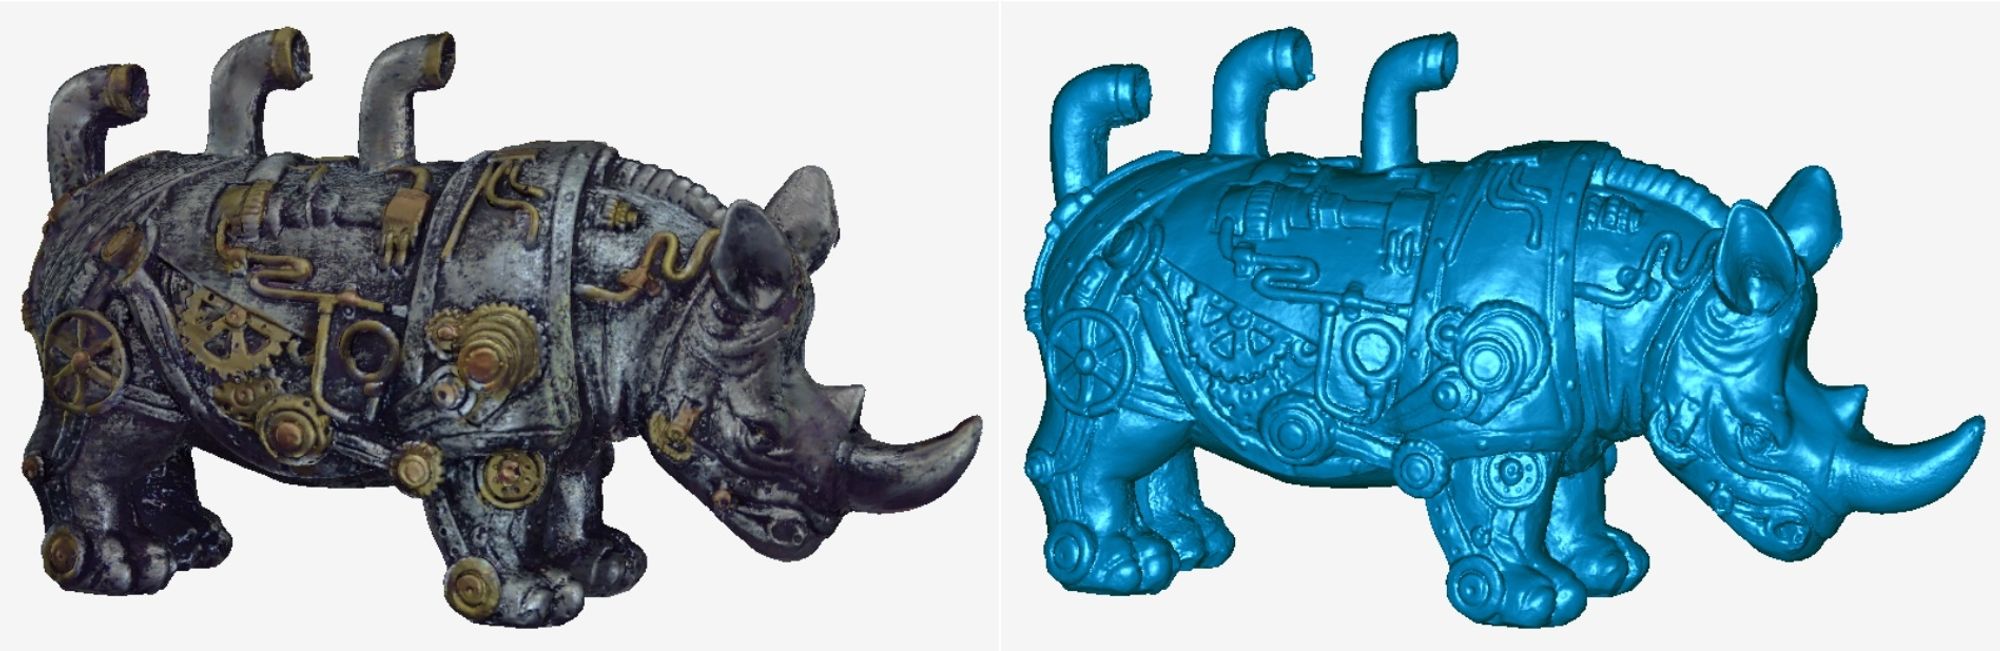
Texturing
The Raptor scanner is equipped with a high-definition RGB camera, allowing for the capture of true-color textures for 3D models.
Import Historical Project
When scanning with a PC, if you don’t have time to wait for the post-processing to complete, you can click “Complete” and use the “Import Historical Project” feature in the future to import the scan project file into the software for further processing.
Multi-project Merging
Each scan can capture only a portion of the object, and then you can use the Multi-Project Merging feature to combine them into a complete model. This is extremely helpful for scanning larger objects.
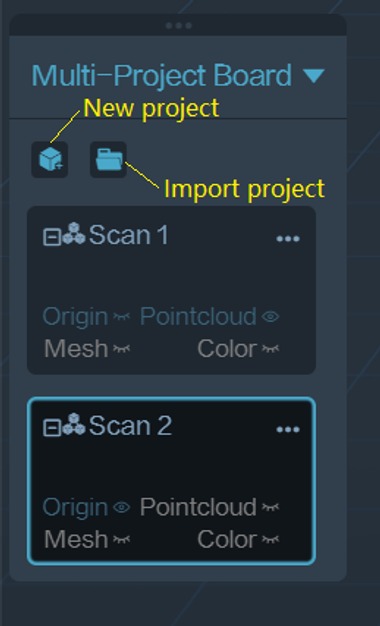
How to scan the bottom of an object?
When you need to scan the bottom of an object, you can place the object on a tabletop and scan the visible parts first. Then, create a new project and position the object on its side or upside-down for another scan. Use the Multi-Project Merging feature to merge these two sets of point clouds together, creating a complete 3D model of the object. During both scans, make sure that sufficient overlapping areas are being captured.
After completing the first scan and performing point cloud optimization, you can start a new scan by selecting “New Project.” On the page for Multi-Project Merging, you can automatically or manually merge the fused point clouds. Below is an example of manual multi-project merging.


Calibration
When the scanner is bumped or hasn’t been calibrated for a long time, calibrating it with the included calibration board can restore the scanner’s measurement accuracy.
Scanning Cases and Techniques
Mechanical Parts
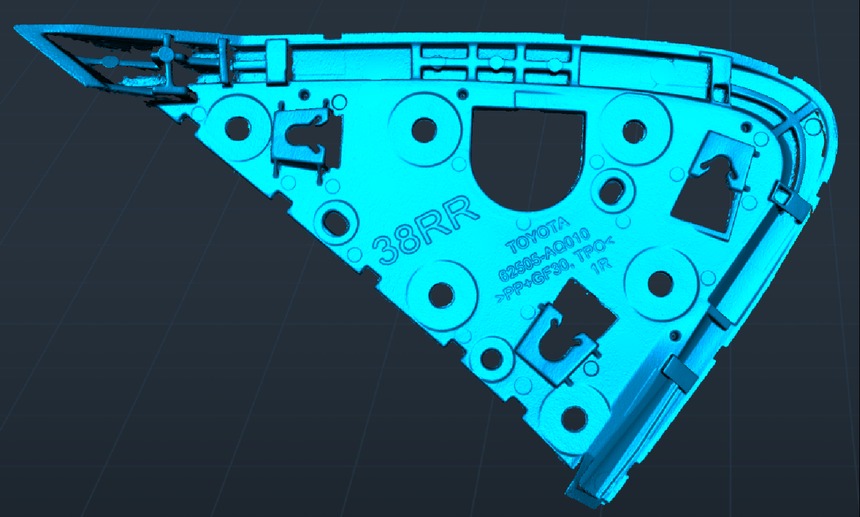
Rearview mirror trim
Size: 220x130x25 (mm)
Setting: Blue light, No Color, Resolution 0.1mm, 4000 frames

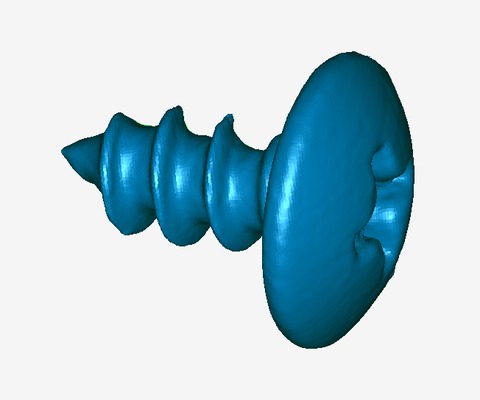
Screw
Setting: Blue-light, No Color, Resolution 0.1mm
Mold Design
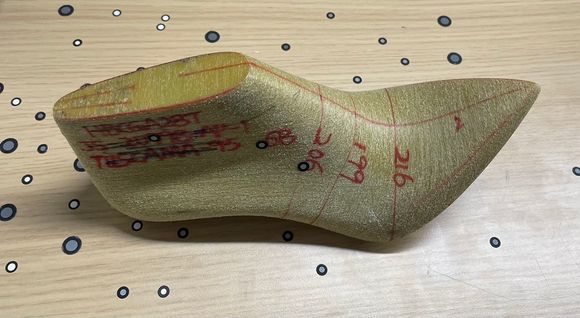
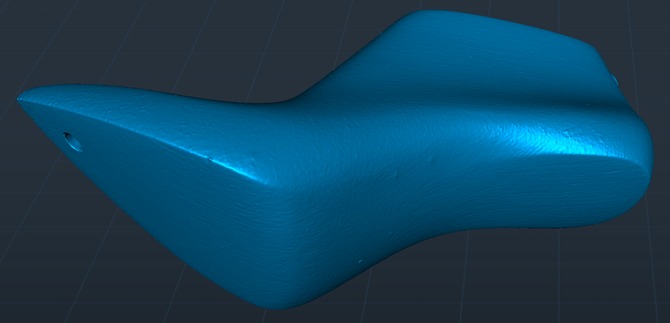
Shoe last
Setting: Blue light, No Color, Resolution 0.1mm, 6000 frames (stitched from two scans)
Automotive Parts
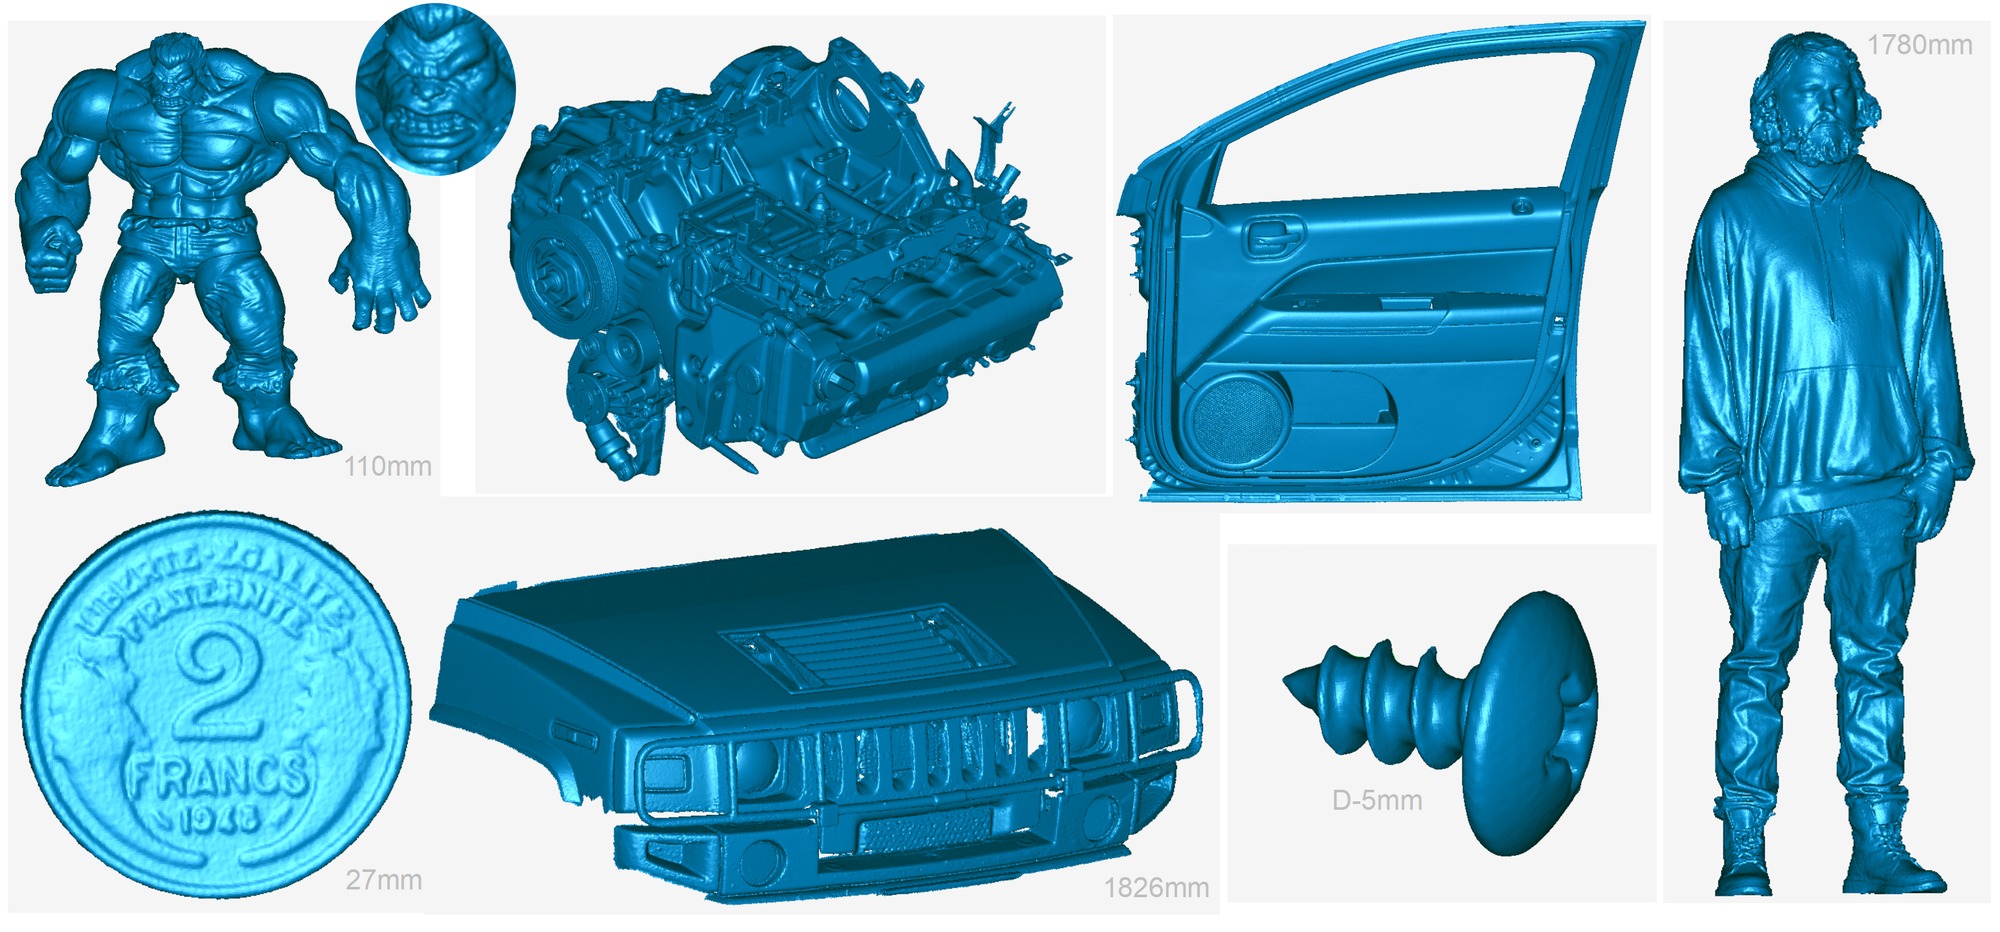
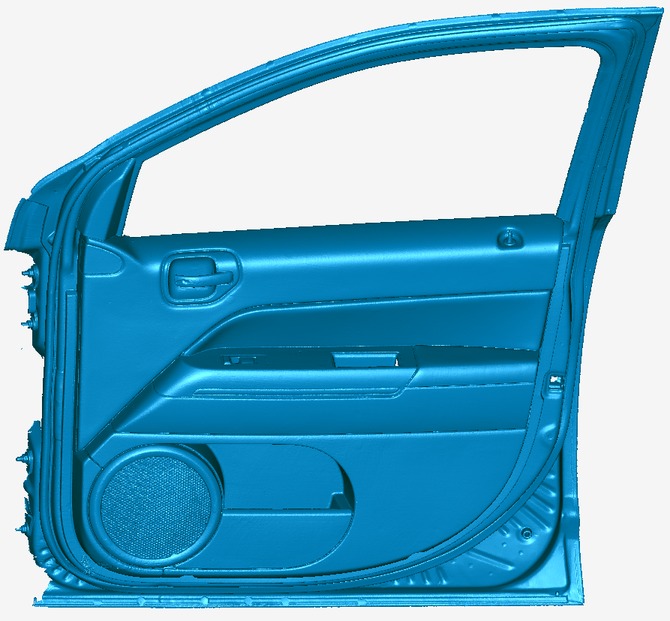
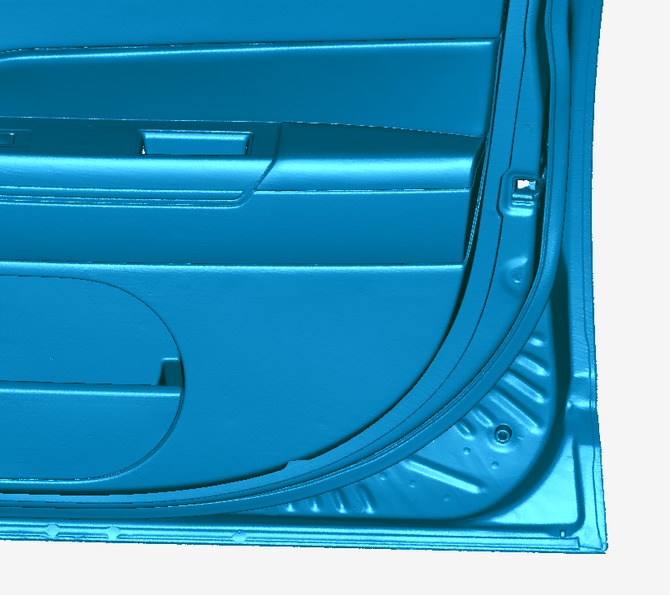
SUV door
Setting: Blue-light, No Color, Resolution 0.3mm, 40000 frames
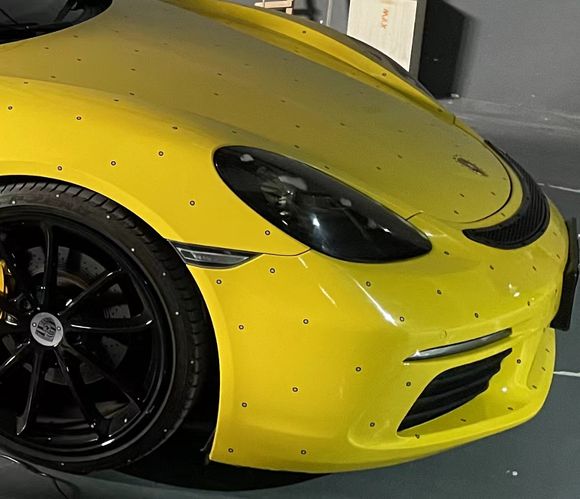
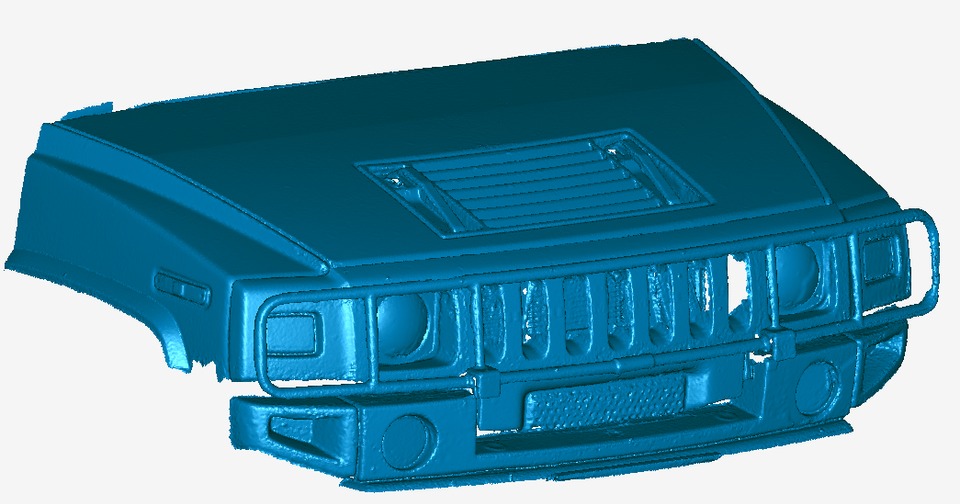
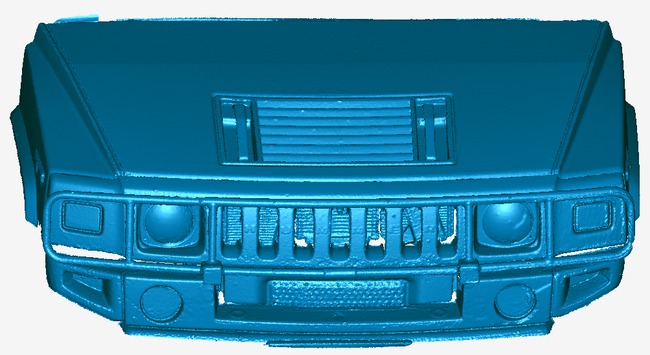
Hummer front end
Setting: Infrared, Marker, Large Object, Resolution 1mm
Engine
Size: 641x590x455 (mm)
Setting: Blue-light, No Color, Resolution 0.3mm

Small Objects
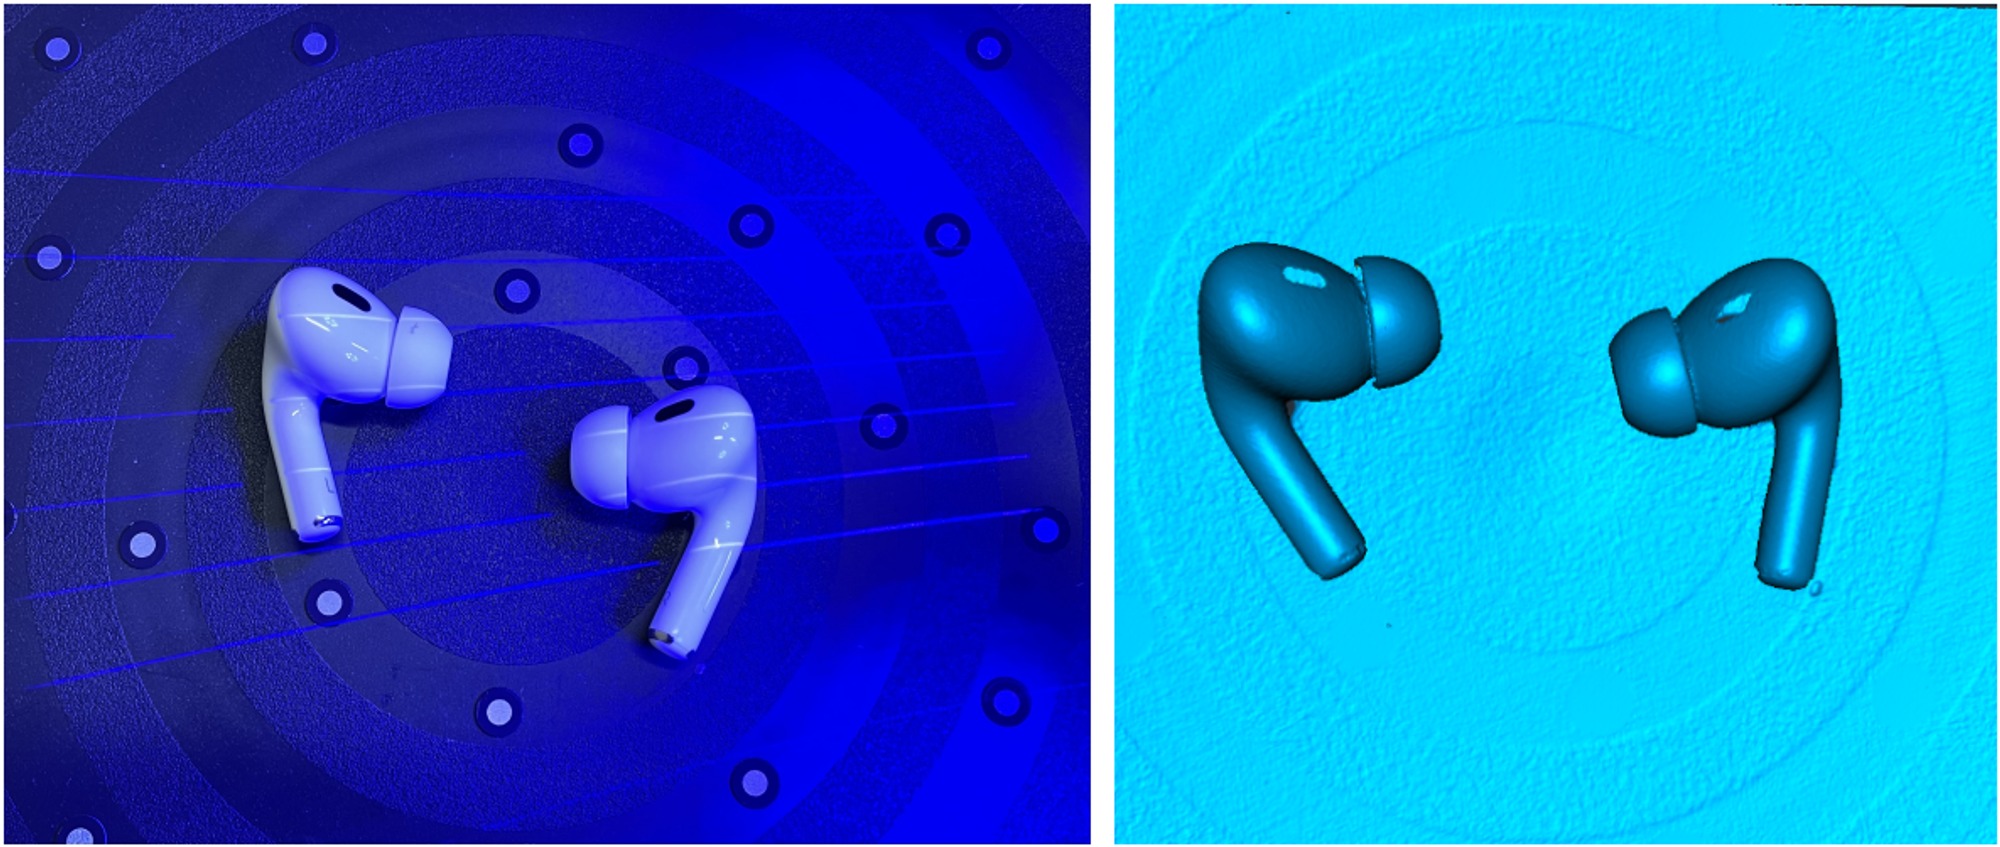
Airpods Pro2
Setting: Blue light, No Color, Resolution 0.1mm, 3000 frames
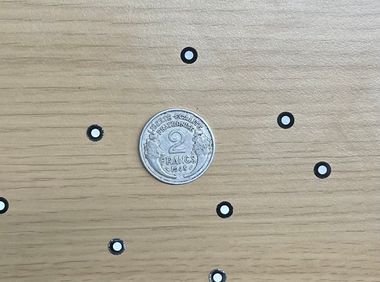
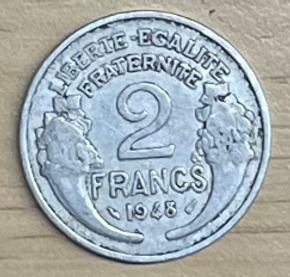
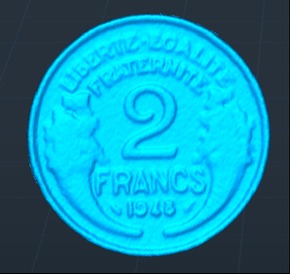
Coin
Size: Diameter 27mm
Setting: Blue-light, No Color, Resolution 0.1mm
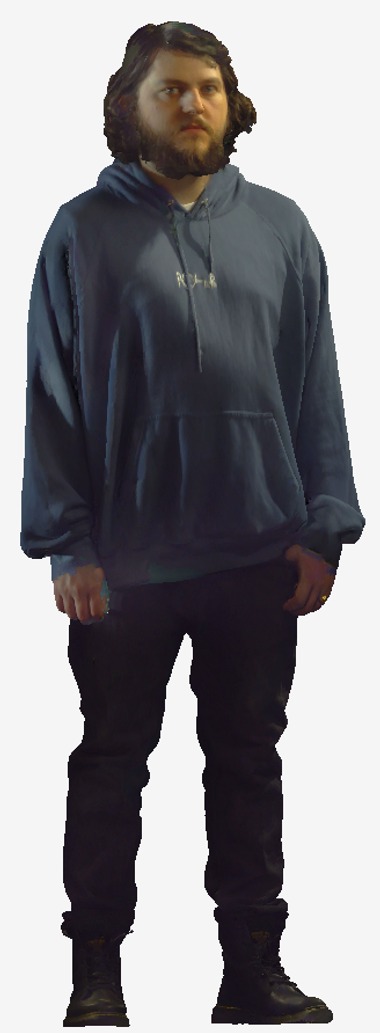
Body/Face
Setting: Infrared, Body, Hi-Quality, Resolution 1mm

Crafts
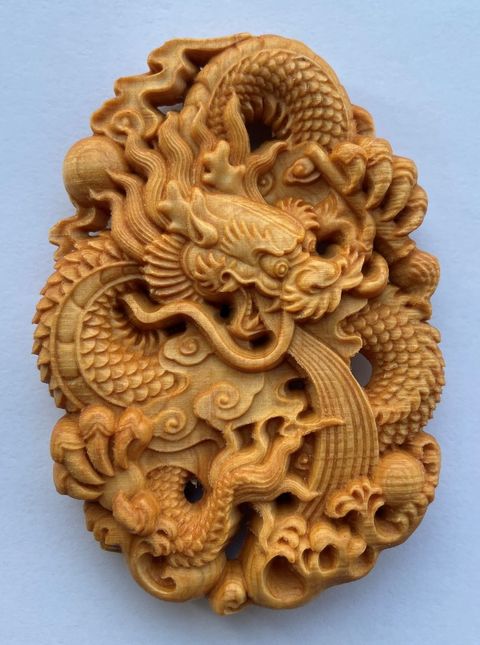
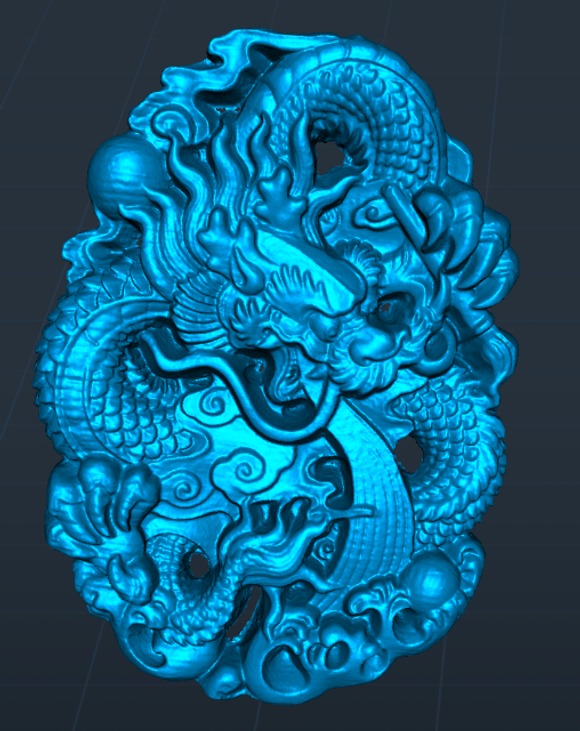
Woodcarving
Size: 95x70x17 (mm)
Setting: Blue-light, No Color, Resolution 0.1mm
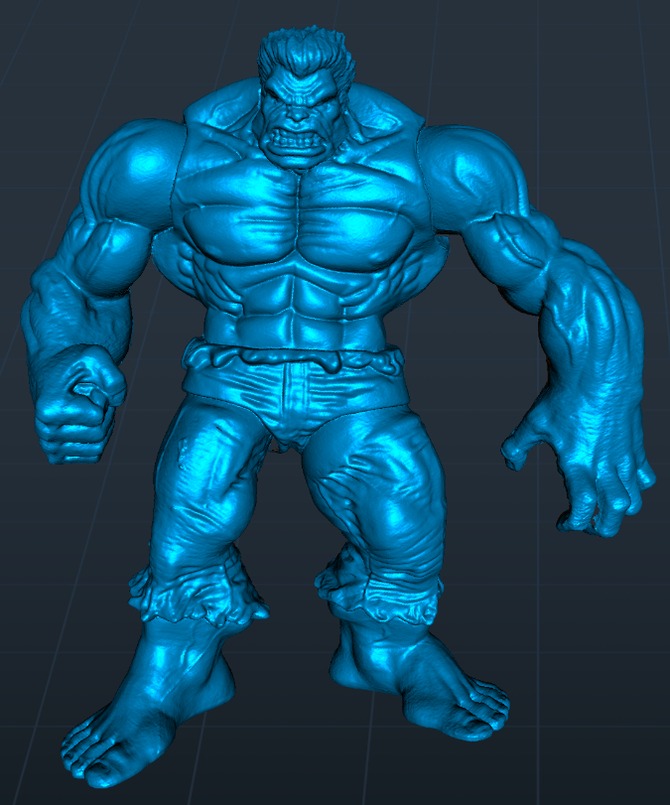
Action Figure
Setting: Blue-light, No Color, Resolution 0.1mm