LONGER Laser B1 adopts a mainboard characterized by wireless technology, microSD card reading, and total interaction with your smartphone. Therefore, the Laser B1 can be controlled either via the classic USB interface using a laptop; but that’s not all, as you can expand the functionality of the Laser B1 by adding a touchscreen display with a graphic interface.
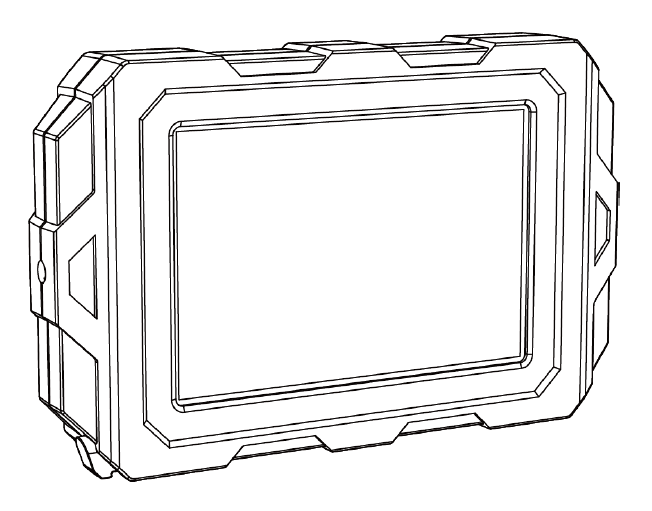
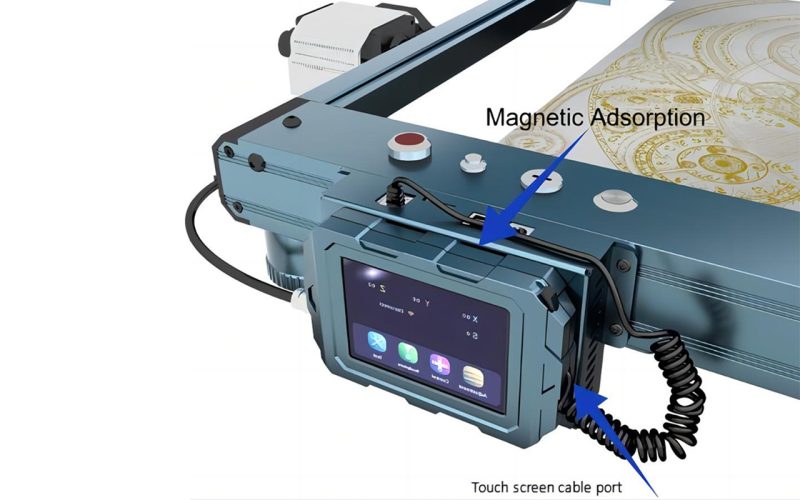
The touch screen for Laser B1 is easily connected to the machine thanks to its magnetic surface, and you simply need to plug its cable into the appropriate port of the Laser B1. Once properly connected, the display is equipped with an intuitive graphic interface, through which you can consult the list of working files on microSD, choose and start an incision, move the axes and fix the “homing” position, turn on and off the laser beam and establish the wireless connection between Laser B1 and your Wi-Fi internet connection. In this way, thanks to the display, you can control the machine more easily and quickly, without having to use complicated laptop software.

As mentioned, the touch display for Laser B1 is really plug-and-play, but in order to use it on the machine you may need to update the firmware of Laser B1 first.
NOTE: After the firmware update, the MKSLaser App and Web Browser Interface cannot be used anymore, but this firmware will allow you to use our newer Longer LaserBurn App.
Therefore, after connecting the touch display, then you need to do the following steps.
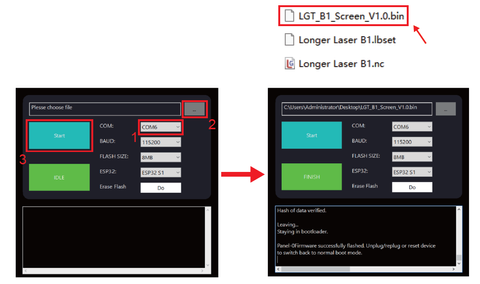
1) First, download the package for Longer B1. This package includes respectively the new firmware and the configuration file to import using LaserGRBL.
2) Next, download the MKSLaserTool update software, and install and launch the application.
For Windows
For Mac
3)After starting MKSLaserTool, click on MKS ESP32 Download Tool, then select the right port, baud rate 921600, and lastly the .bin update firmware downloaded previously. Once ready, click Start and wait for the whole process, until it will prompt ” firmware successfully flashed” after the update is completed.
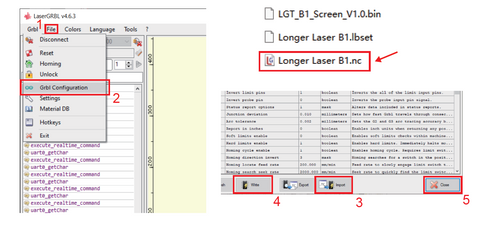
4)At the end of the firmware update process, close MKSLaserTool and open LaserGRBL (if you don’t have it installed on your computer please download and install it first from the LaserGRBL website). Once ready, select the Configuration File downloaded before, import it, and lastly write it over Laser B1. After these steps, the configuration file update will be completed automatically.
At this point, the Laser B1 has been successfully updated and the touch display will be successfully recognized, and will therefore be fully functional. Also, thanks to the new firmware, now it’s possible to use the Longer LaserBurn, in order to engrave using your smartphone.


