Introduction
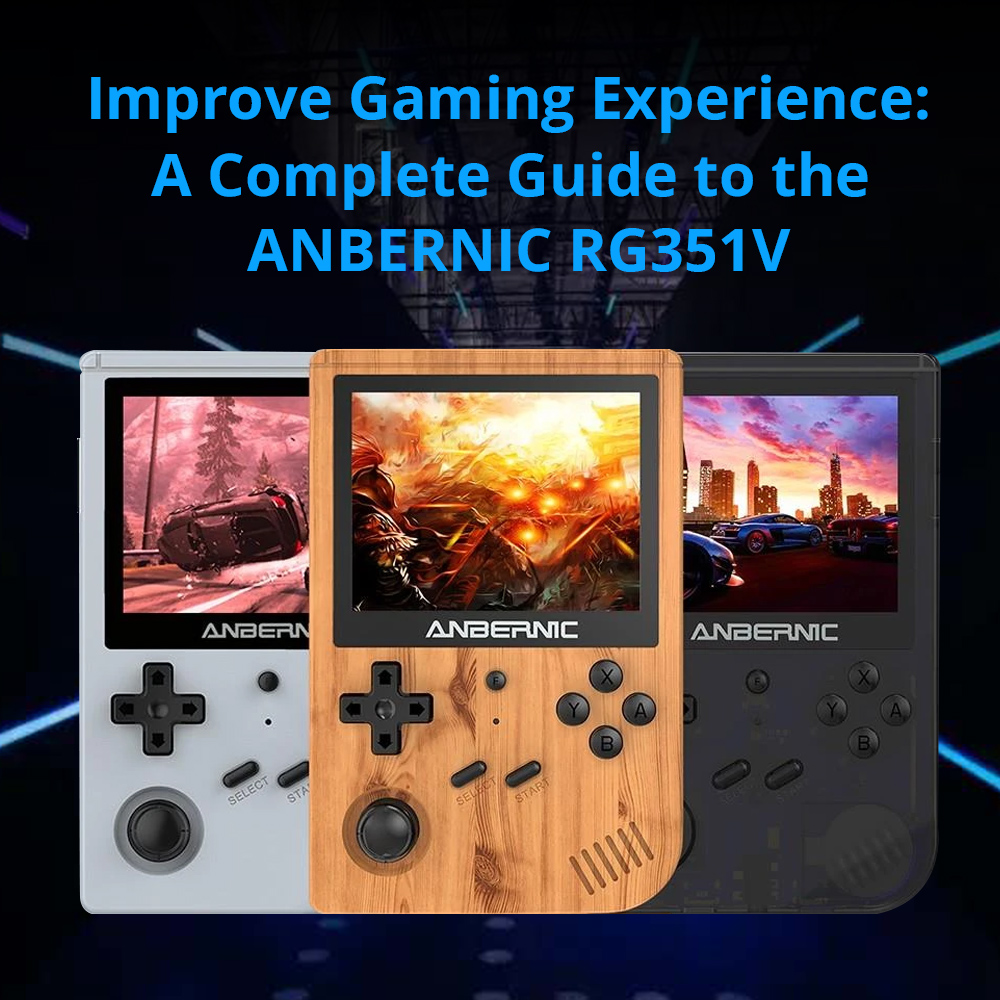
This blog will give a most comprehensive guide for the ANBERNIC RG351V retro game console, and assist you to get your new ANBERNIC RG351V up and running with the included firmware.
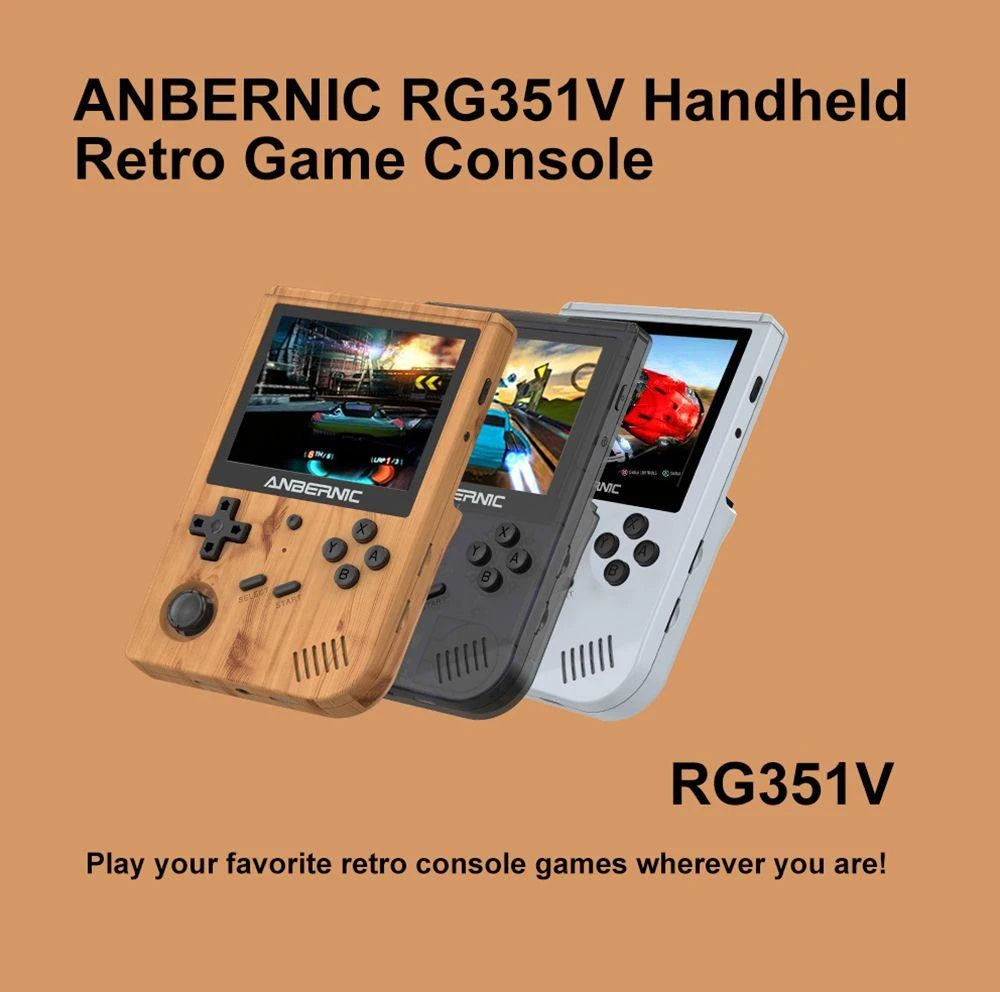
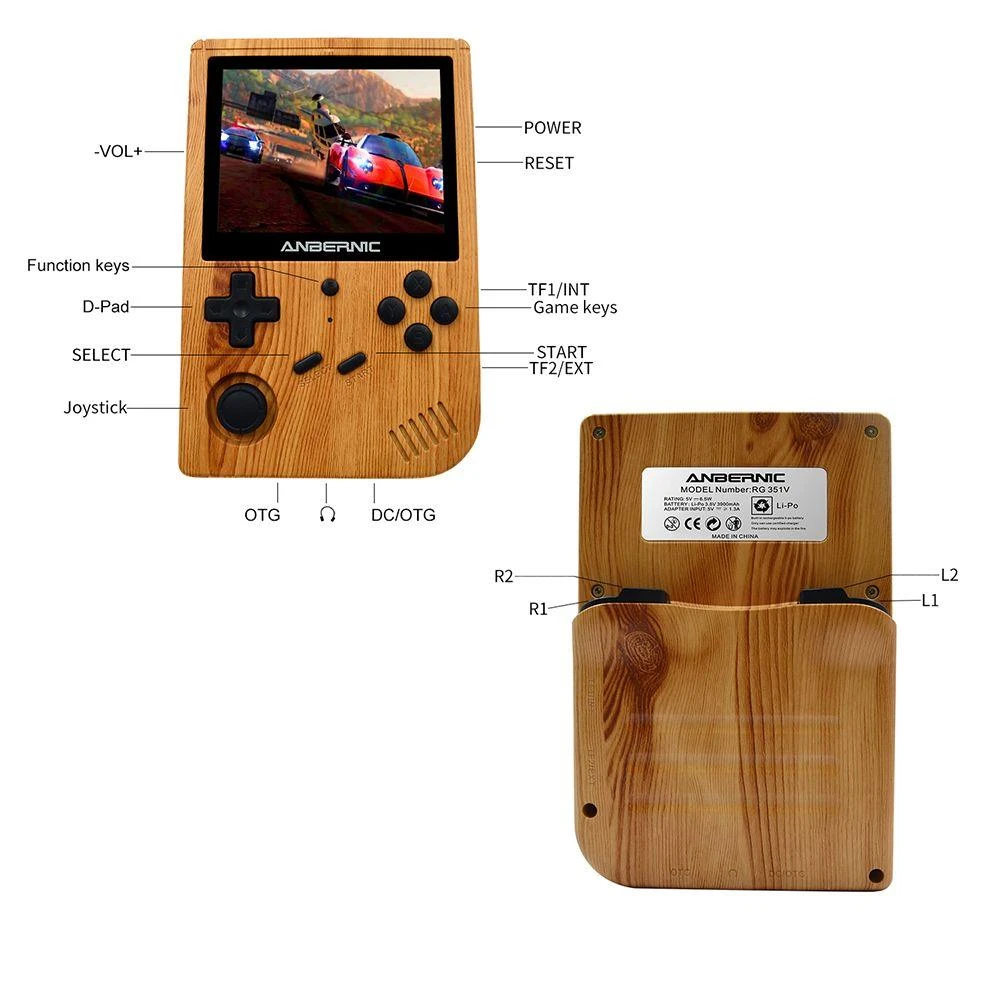
The ANBERNIC RG351V has a 3.5 inch OCA full fit IPS display with a resolution of 640*480, which gives you a better visual experience on this small screen. It runs on open source Linux system and powered by RK3326 quad core chip.
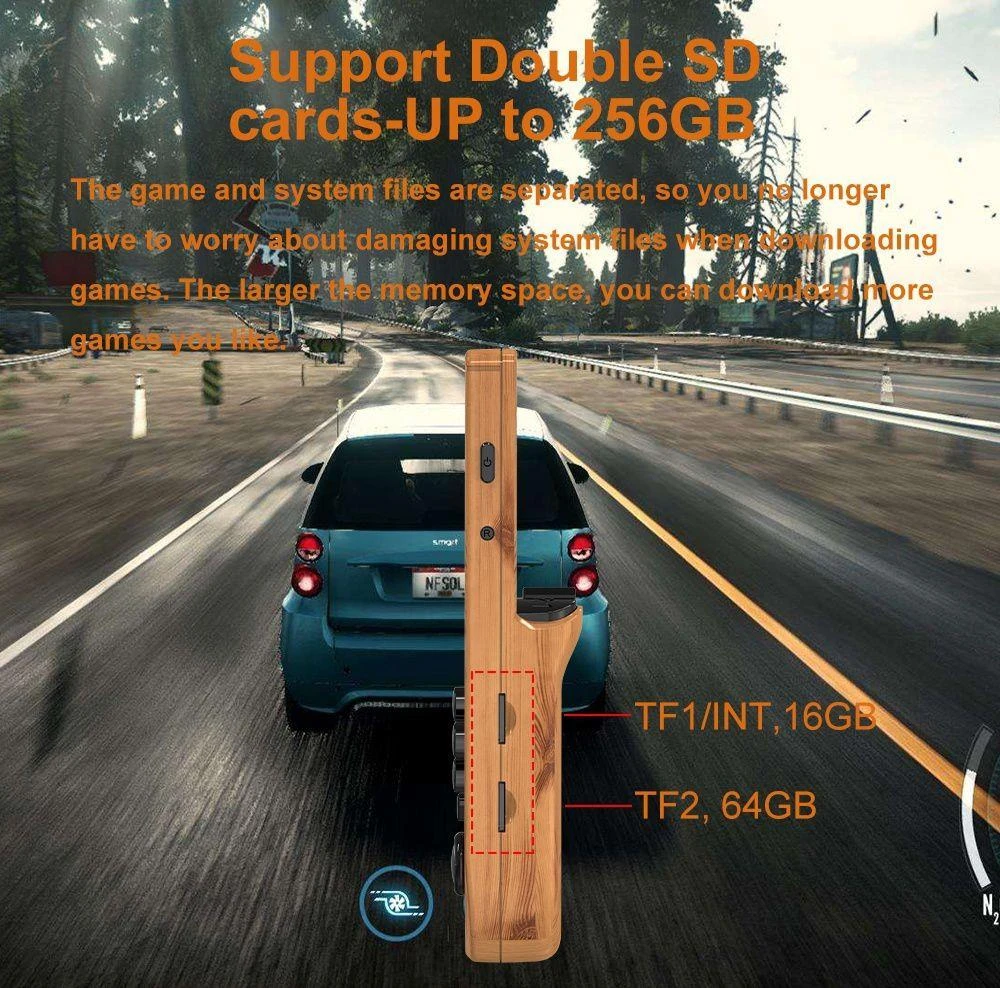
The ANBERNIC RG351V boasts a unique twin-card storage design. With one SD card dedicated exclusively to the operating system and emulators, and the other card dedicated exclusively to games, it has never been easier to quickly and easily manage your collection across multiple SD cards, and add/remove titles on the fly without even needing to turn the system off. It has dual TF card, supporting TF card expansion up to 256GB. As far as the connection, it supports built-in WiFi, granting access to added facilities such as database scraping for game art – to keep your collection of titles organized at their best.
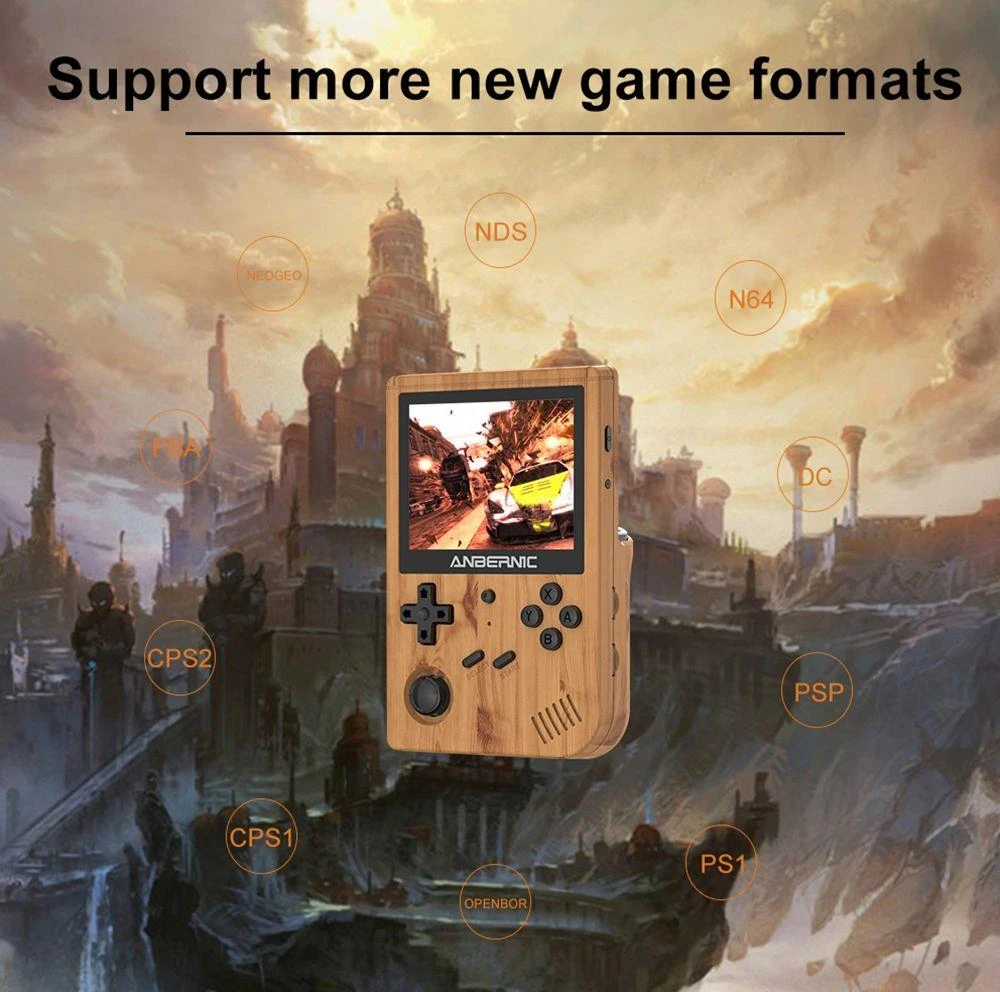
With a vibrating motor, ANBERNIC RG351V perfectly supports NDS, N64, DC, for PSP, PS1, openbor, CPS1, CPS2, FBA, NEOGEO, NEOGEOPOCKET, GBA, GBC, GB, SFC, FC, MD, SMS, MSX, PCE, WSC transplant games etc 20 kinds of games format. Support users to download the relevant format of the game.
Essential Gaming Accessories
Game Storage – TF Card
The ANBERNIC RG351V game console comes with a single micro SD card while with 2 TF card slots. The “TF1” slot on your device contains the system firmware, so 16 GB is ideal for this card. The “TF2” slot is for your game files, so you will need a larger card for that slot. With a 128-GB card, you can load EVERY 8-bit and 16-bit games, all working arcade games, and some PS1, Dreamcast, PSP, and Sega CD games (these systems have the largest file sizes). You can store even more of these larger games on a 256GB card.
Micro SD-to-USB Adapter
One more accessory: If you don’t have a micro SD-to-USB adapter yet, you should think about getting one. A good adapter will give you the fastest possible transfer speeds and won’t cause any problems with your card.
It’s Time to Build Your ROM Library Now
In conclusion, I would recommend that you build your ROM library now if you haven’t already. The device comes with a number of games, but they are poorly organized, from the wrong region, or just plain buggy. Make separate folders for each of the systems you want to play on your device in a folder called “Retro Games” or something similar. It’s recommended to name your game folders after the Rom Path names, since that’s how they’ll be organized on your device. Ensure that the right file extension is loaded into the directories containing the ROMs. NES games, for instance, can be in the.7z,.fds,.nes, or.zip formats. Here are a few of the several systems that operate on the RG351V as a reminder:
Home Consoles:
- Panasonic 3DO
- Atari 2600
- Atari 5200 (and 800)
- Atari 7800
- Colecovision
- PC Engine (TurboGrafx-16)
- PC Engine CD (TurboGrafx-CD)
- Nintendo Entertainment System
- Famicom Disk System
- Super Nintendo
- Nintendo N64
- Sega SG-1000
- Sega Master System
- Sega Genesis
- Sega CD
- Sega 32X
- Sega Saturn (poorly)
- Sega Dreamcast
- Neo-Geo / CD
- NEC PC-FX
- Sony PSX
- Vectrex
Handheld Consoles:
- Atari Lynx
- Game and Watch
- Nintendo Game Boy
- Nintendo Game Boy Color
- Nintendo Game Boy Advance
- Nintendo DS
- Nintendo Virtual Boy
- Sega Game Gear
- Neo-Geo Pocket / Color
- Sony PSP
- Wonderswan / Color
Home Computers:
- Amiga
- Amstrad CPC
- Atari ST
- Commodore 64 (and C16/Plus4, C128)
- Intellivision
- MSX
- PC (DOSBOX)
- ScummVM
- ZX Spectrum
Arcade Systems:
- MAME
- Final Burn Neo
- Neo-Geo / CD
- Atomiswave
- Naomi
When Receiving Your Game Console
After unbox the device, check the hardware at first. Verify that each button operates or clicks as intended. Check the screen for any obvious fractures or damage. Try booting some games after turning the device on. Check to see if you have any dead pixels (they will appear as small dots). I strongly advise you to perform a system shut down rather than simply depressing the power button to turn the device off. Imagine it as shutting down a computer. Press START, then choose Quit > Shutdown System to shut down the computer.
Save the BIOS Files from the Original SD Card
The stock RG351V firmware will be flashed onto a fresh SD card in the following step. In order to confirm that everything functions as intended with the new firmware, we must first download a few files from the original SD card.
Your gadget needs the original SD cards removed. It doesn’t really matter if your device came with a second SD card or not. There should be a GAMES partition on the first (“TF1”) SD card. Within that partition, there will be a number of folders, one of which should be called “bios.” To keep it safe, copy the whole contents of this folder onto your computer. You might be running an older version of Windows (like Windows 7 or 8), in which case you’ll need to use a tool called “bootice” to view the GAMES partition if you can’t see it.
Think about Bespoke Firmware
Think about a bespoke firmware like ArkOS or 351ELEC instead of the stock firmware that comes with the device. For some of the difficult-to-run systems, such Dreamcast, PSP, and Nintendo 64, these homebrew firmwares function better and are updated frequently. To determine whether this is something you ought to try, watch the video up above.
Flash Clean Firmware onto A New Card
Now that you have your BIOS files, let’s download the stock firmware image if you’re not interested in a custom firmware like ArkOS or 351ELEC:
RG351V Clean Stock Firmware
After downloading the firmware, unzip the file to create an.img file. The image file should now be flashed onto your 16GB microSD card using a program like Win32 Disk Imager, Rufus, or Balena Etcher.
Load Games onto Your Device
The second card (“TF2”) will be used to hold our game and bios files. Your larger card should be this one; 128GB or more is ideal. Use the GUIformat application to format the card to FAT32 after inserting it into your computer. The device needs to complete this step in order to recognize that TF2 card.
After that, insert the TF1 card that you previously used to burn the system image; it should have a GAMES partition and a number of (empty) game directories within that partition. Transfer all of the game folders to the TF2 card, excluding the “System Volume Information” folder. By doing this, you’ll build the folder structure the system needs to find the game folders.
Your TF2 card is now empty, with no game folders. The first step is to transfer the previously stored BIOS files to the “bios” folder on the TF2 card. Then transfer your game files. Remember that you shouldn’t store multi-file games in subfolders; instead, place them all in the PS1 folder itself. Multi-file games include.bin and.cue files for PS1 games.
There is no secret to adding games; simply make sure they are in the right location and have the appropriate file extension. Simply create the folder yourself and add the games if there isn’t one there for a system you want to add, such as Sega CD.
Note that if you transfer files on a Mac, you might in addition to your ordinary game discover odd files on your device that begin with a “._” prefix. So, for instance, you’ll see both “._Sonic.bin” and Sonic.bin. These are files that MAC OS has produced to help with its QuickLook feature. By selecting Select > Edit Game Metadata > Delete, you can remove these files from your device. Alternatively, you can do the following while using your Mac to delete them from your SD card:
Enter “sudo dot_clean -mn /Volumes/SD/” in the Terminal app, where “/Volumes/SD” is the path to your SD card.
Media Scavenging and Theme Switching
This device has a lot of excellent features, however they are all WiFi-only. For instance, you may add new themes to your EmuELEC interface, “scrape” (download) box art and other media for all of your games, or even gain achievements for vintage titles. One of the easiest ways to improve your user experience is to find a theme that works best for you.
Getting to Know the Interface
An elegant user interface that lets you cycle between systems and choose games will meet you when you turn on the gadget for the first time. Additionally, you’ll see that just the systems with games loaded will appear on your mobile. How convenient is that?
This main user interface is actually a modified version of the multi-device operating system EmuELEC. The games are mostly loaded using an emulator system called RetroArch by EmuELEC, which uses Emulation Station as the user’s front-end interface. Emulation Station will let you explore your menus and set up some basic settings, but in order to fully utilize the RG351V’s capabilities, you’ll also need to become familiar with RetroArch’s workings.
The most straightforward way to conceptualize this is to imagine that when you start a game through the Emulation Station interface, RetroArch actually boots up, and that everything you do inside the game takes place in RetroArch until you quit it and return to Emulation Station. This is crucial to understand because some options, like those discussed in our upcoming section on hotkeys, are only available for configuration within RetroArch.
About 80% of everything can be configured in Emulation Station, but RetroArch is required for the remaining 20%. If you change a setting in Emulation Station, it will override any changes you make in RetroArch. As a result, if you make a change in RetroArch and it doesn’t take effect when you return to a game, Emulation Station is probably the cause.
It should be noted that some emulators do not use RetroArch at all. For example, the Nintendo DS and PSP both employ standalone emulators that do not adhere to RetroArch’s setting guidelines.
Getting to Know the Game Settings
Before getting into screen setup, it’s crucial to understand that, when using the RG351V’s default firmware, there are SIX different ways to save settings. As I will refer to them later in this book, I want to break them down now.
3 Settings in EmuELEC:
- EmulationStation’s “Games Settings”: The Main Menu will show if you press the START button on the RG351V while in the main operating system. “Games Settings” is the second setting. Here, you can adjust the device’s global settings, including the preferred aspect ratio, graphical effects, and more.
- (EmulationStation) “Per System Advanced Configuration” The “Games Settings” menu contains this item. You can choose which emulator (core) you want to use, as well as make the same modifications that can be found in the “Games Settings” menu, but by SYSTEM (NES, SNES, etc.). Although it covers the majority of your system’s settings, it is not comprehensive (see the RetroArch overrides below). Hovering over a game and then hitting SELECT and choosing “Advanced System Options” will likewise take you to this options menu.
- You may also modify settings by game using the “Advanced Game Options” (EmulationStation) feature. To accomplish this, select the game you want to modify, press SELECT, and then make your changes under the “Advanced Games Options” menu; these changes will only be saved for that specific game.
The backend system running the majority of the emulators (referred to as “cores”) on the RG351V, RetroArch, is where the other three settings are made. Utilizing the “override” options allows for this. Let’s talk about these for a minute because they are a little complicated but necessary if you want the optimal settings.
By setting up parameters for an entire core (for example, FCEUMM for the NES), you can make them persistent for every game that launches with that core. This is known as overriding core settings. If you have a core (like Genesis Plus GX) that emulates multiple systems but you only want one system to have specific settings, you can override content directories, which is useful. This option will save an entire directory (like “Sega Genesis”) and not affect the other directories that use the same core (Sega CD, Game Gear, etc.). In order for particular games to have their unique settings, you can also override game settings.
For instance, the SNES 9x 2010 core is excellent for Star Fox, but you definitely don’t want to use it for every SNES game. Look through this guide from RetroArch for further details on override hierarchy. In conclusion: The “override” settings in RetroArch are more extensive than those in EmuELEC, but the Emulation Station settings will take precedence. However, it looks the developer concealed the override settings on the device to make EmuELEC more straightforward, so we must configure that.
Enter RetroArch without loading a core. To do this, select Quit > Start RetroArch from the EmuELEC main menu by pressing START while still in Emulation Station. If you already have a game loaded in RetroArch, you may also choose “Close Content” from the Quick Menu. Go to Settings > User Interface > Menu Item Visibility > Quick Menu after entering RetroArch. Turn both “Save Game Overrides” and “Show Save Core Overrides” ON after scrolling down to discover them. Return to the Main Menu and choose Configuration File > Save Current Configuration from there. You can now save overrides that are unique to that core or game (the content directory option is now functional).
3 Settings in RetroArch:
- When the game’s settings are perfect, select “Save core overrides” (RetroArch) by going to the quick menu for the title (located on the far left of the RetroArch menu bar). From there, scroll down until you see Overrides > Save Core Override. You should receive a confirmation that the core override was saved after selecting that. At this point, you will always have those settings when you open a game from that specific core or system.
- Follow the directions above, but choose Save Content Directory Overrides. “Save content directory overrides” (RetroArch). Every ROM’s settings will be saved in the same folder as the one containing the ROM you just modified.
- Follow the steps above, but choose Save Game Overrides for RetroArch’s “save game overrides”. This will only preserve the settings for this particular ROM.
Set RetroArch Hotkeys
You can make certain tweaks while in RetroArch by using hotkeys, which are only a few easy button combinations.
Open a game, then press L3 and F to bring up the RetroArch menu. Press B one to return to the Main Menu from this “Quick Menu”. To access the Settings menu, move the pointer to the right. After that, scroll down to the Inputs section. Once you have found the Hotkeys area, scroll down and hit A once again to return to the Inputs settings. Set the SELECT button for “Hotkey Enable” and the START button for “Restart RetroArch” respectively. Now, if you’re playing a game, you may end the game and return to EmuELEC by pressing SELECT + START twice.
While you’re in these settings, I advise you to configure a few additional hotkeys.
- Fast-Forward (Toggle): R2 button
- Rewind: L2 button
- Load State: L1 button
- Save state: R1 button
- Show FPS: Y button
- Menu (Toggle): X button
- Reset Game: B button
I may activate those functions by pressing SELECT + any of the other buttons using the hotkeys mentioned above. One of my favorite combinations is SELECT + X, which accomplishes the same task as L3 + F but is considerably simpler and more practical to utilize.
When you’ve finished setting up all of your hotkeys, select Configuration File > Save Current Configuration from the main RetroArch menu (far left). With this, you can be guaranteed that your hotkeys will function regardless of the game you launch.
Display Setting
In a nutshell, I would recommend that you set the system aspect ratio to “Core Provided” so that the emulator can decide the best aspect ratio, with some exceptions:
Most SNES games appear best in 4:3, however some are made for 8:7. There are many different opinions on this subject, so change as you see fit. I employ a 4:3 ratio. You could always go into the per-game options and change the ratio just for that game if you want to play a certain game in 8:7.
The Game Gear is typically thought of as a 10:9 aspect ratio device, but most people now agree that 4:3 is a superior aspect ratio. Therefore, with this system, you might choose either “Core Provided” or 4:3.
On the PSP or Nintendo DS, I wouldn’t change the aspect ratio or scaling because they are good enough as is and changing them will just result in problems.
With the exception of the GBA, which has very huge bezels with integer scaling, I advise you to switch integer scaling ON for all other devices. The others will feature fine black bezels but better pixel balancing. If you really can’t see the difference and want to take up your entire screen, go ahead. In order to balance the pixel distortion, you can also expand the screen before using shaders. In the RetroArch Quick Menu > Shaders area, which should already be loaded on your device, I suggest giving the GLSL > Interpolation > sharp-bilinear-2x-prescale.glslp shader a try.
I’ve also included a selection of J.dewitz’s overlays, which are compatible with Game Boy, Game Boy Color, Game Gear, and Neo Geo Pocket Color.
Emulator Tips and Tricks
Change the 320240 default resolution for the Nintendo 64 and Dreamcast to 640480. In some games, this will result in a slight performance impact, but it will look twice as fantastic.
Use the default Parallel core for the Nintendo 64, but test out the GFX plugins (Glide64, Rice, or AngryLion) to determine which one performs best for each game. For games like Super Mario 64, F-Zero X, and Mario Kart 64, I’ve discovered that AngryLion works best.
Go into the Controls settings and remap the START and SELECT buttons because they are the wrong way around on the PSP. Change the Frameskip Type to Number of Frames, set the Frameskip to 1, then enable Auto Frameskip in the graphics options.
Get a magnifying glass for the Nintendo DS to modify the settings, or just wait for customized firmware to slightly enhance the user interface.
Seting the Time Zone
On the RG351V, setting the system clock requires some effort, but it’s necessary for games like Animal Crossing and Pokémon Go, which use the system clock to establish the time in the game. Only the stock EmuELEC firmware that comes with the device needs to go through this process; all other firmwares contain time zone settings.
To set the date and time in general, access the internet. You’ll see that the time zone is set to Shanghai time instead of your current time zone. Connect to your device via WiFi FTP (the same procedure used to manually upload themes), then open the file emuelec.conf in a text editor at /storage/.config/emuelec/configs. Look for the following text:
———— F – Language and keyboard ————
Set the language of the system (fr_FR,en_US,en_GB,de_DE,pt_BR,es_ES,it_IT,eu_ES,tr_TR,zh_CN)
system.language=en_US
Set you local time
Select your timezone from : ls /usr/share/zoneinfo/ (string)
system.timezone=Asia/Shanghai
That final line of code needs to be modified to reflect the time zone in which you reside. You can either open the “tz” file located in /storage/.config/emuelec/configs/ and look it up there to discover the correct time zone wording.


