Introduction
A great news for the game players, the Powkiddy X55 handheld game console came out at the end of June. In this blog, we’re going to make comprehensive guidance for those gamers who are interested in the game console or have some questions about how to use it.
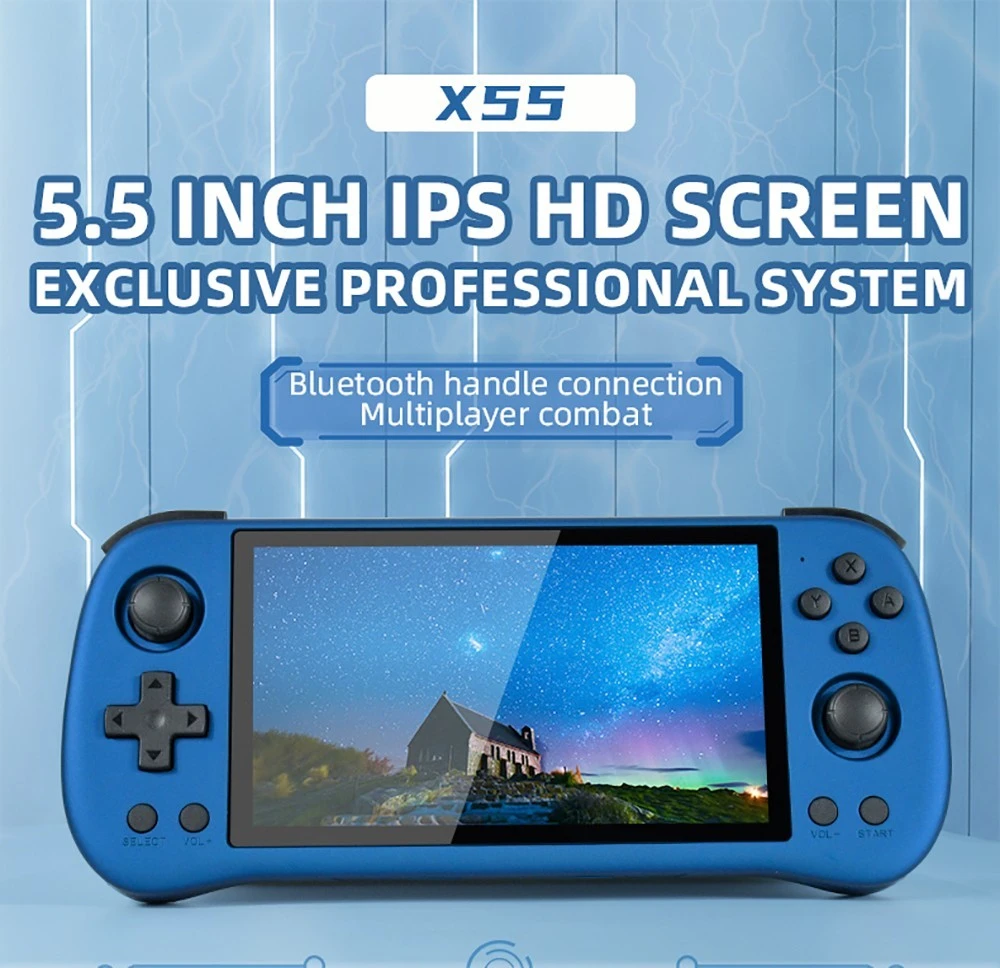
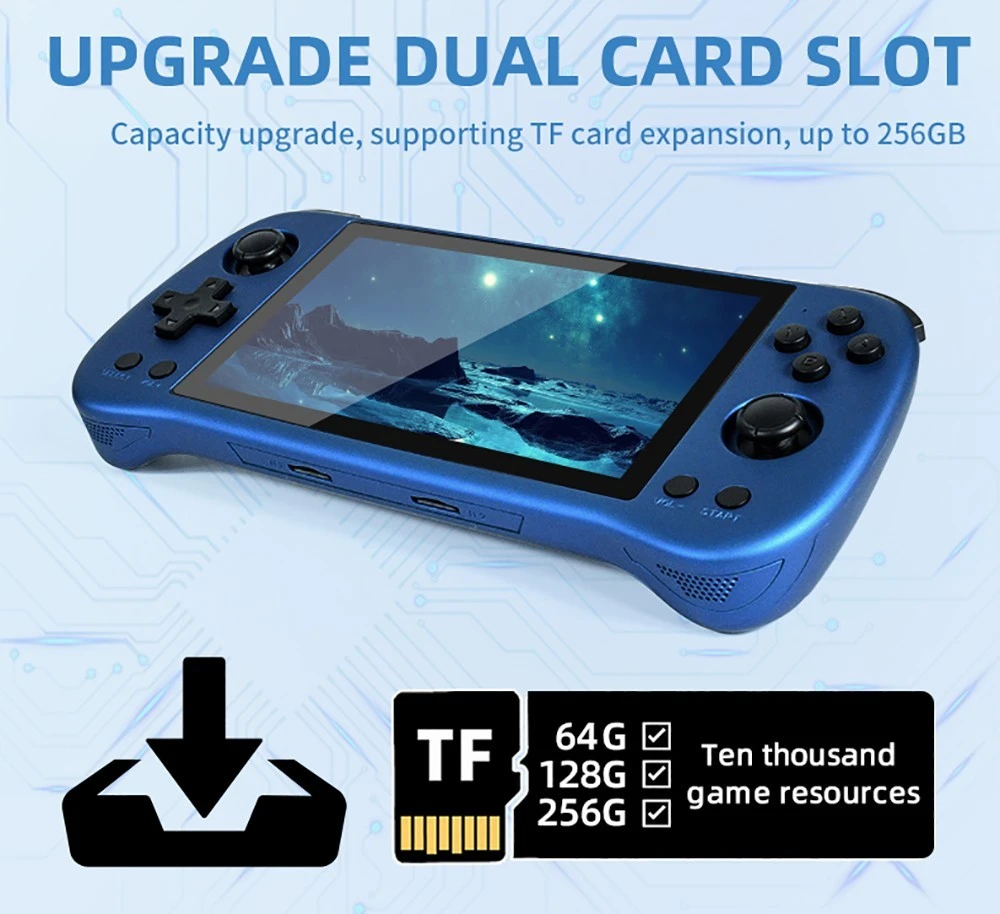
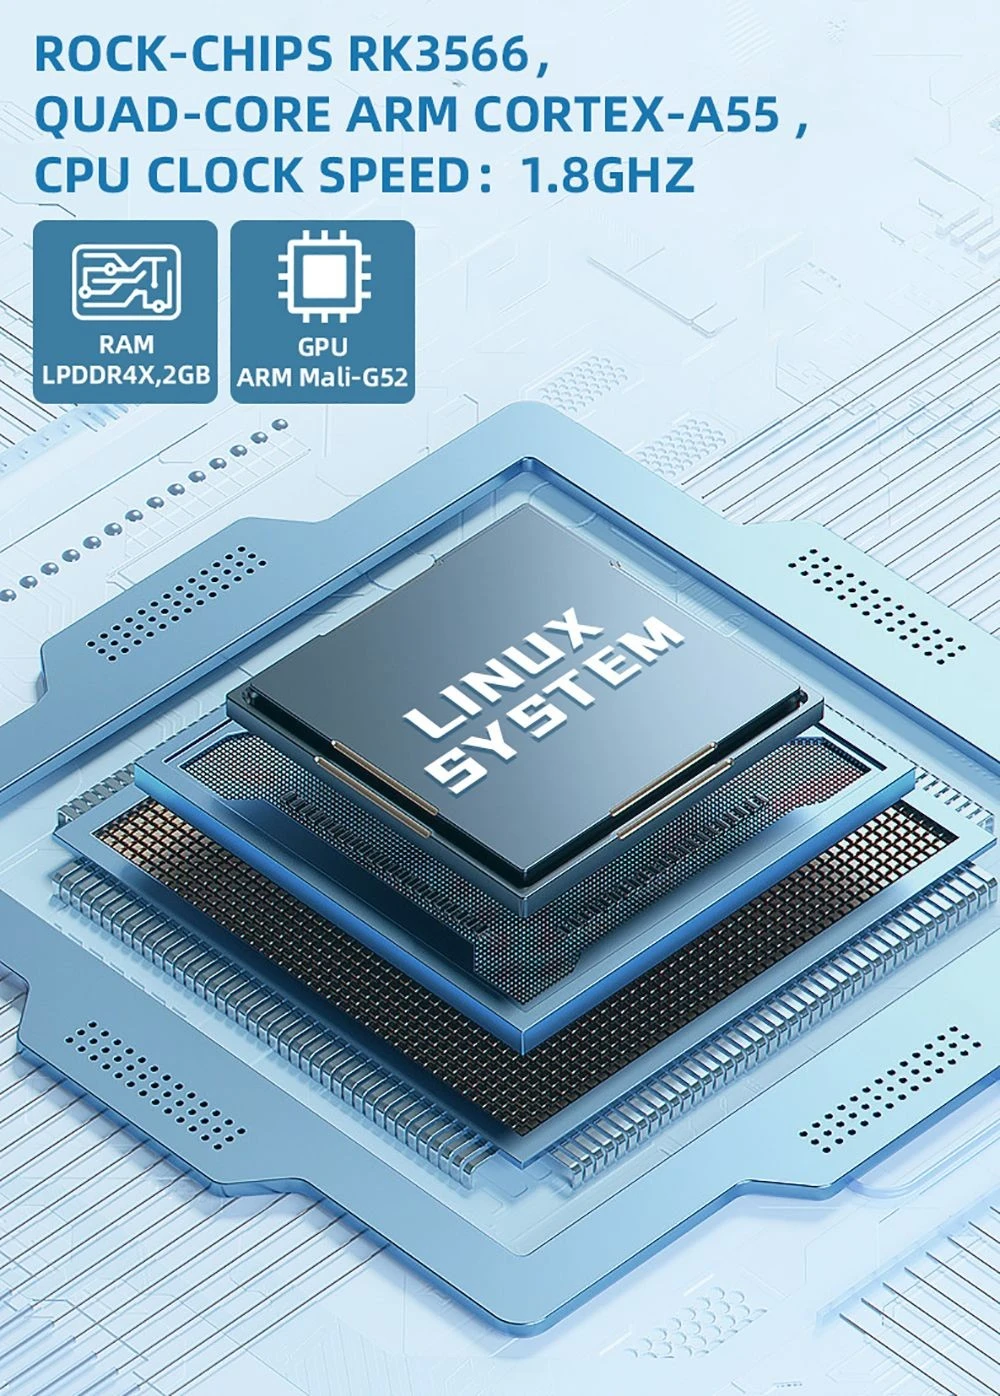
Though Powkiddy X55 is designed to be portable and handheld, it adopts a large display, which is a 5.5-inch IPS RGB screen. To make the gaming experience more immersive, Powkiddy X55 insists on setting a high resolution of 1280*720. As far as the hardware, the powerful Rock-chip RK3566 quad-core ARM Cortex-A55 processor ensures smooth and seamless gameplay. It supports multiple simulators: CPS, FBA, FC, GB, GBA, GBC, NEOGEO, SFC, MD, PS, N64, and supports users to add related format games. The Bluetooth chip allows wireless and wired handle connection up to 4 controllers simultaneously, enjoying game time with friends and family. The HD TV output enables a large screen dual player, with the same screen image quality. It upgrades dual card slot, supporting TF card expansion, up to 256GB.
TF Card Options
TF1+TF2 Card Slots
The PowKiddy X55 comes with 16GB micro SD card (Jelos OS Preinstalled) as the first TF card. In addition, there’re other versions including a 32GB, 64GB, 128GB card or no expansion card. These cards belong to a generic brand and are prone to failure. It’s suggested to replace your cards with micro SD cards from a trustworthy brand that will prevent the cards from getting damaged over time. You can keep the original card in a safe place in case you run into problems in the future.
The fisrt TF card slot on the game console contains the system firmware, so a 16GB card is ideal. The second TF card slot is to store the game files. so it needs a larger card for that slot. You can either use a single card to store both your system files and games on one card, or you can separate the two functions with a dual card SD. I recommend a dual card setup for ease of use, and you can use the second SD card in other devices with a similar setup.
For the second TF card, the higher SD card is suggested such as 128GB if you prefer to load EVERY 8-bit and 16-bit game out there, all of the arcade games that work, and a large number of CD-based game files (Sega CD, PSX, Saturn, Dreamcast, and so on).
Other Accessories for A Better Gaming Experience
A good micro SD to USB adapter will give you the fastest possible transfer speeds, and won’t cause problems with your card. A mini HDMI adapter or a mini HDMI to HDMI cable helps to connect PowKiddy X55 to an external display. A number of Bluetooth controllers will also work with this device.
List of Systems PowKiddy X55 Runs On
Here is a general list of systems that can be played on the PowKiddy X55. A more detailed list can be found here. System marked with an asterisk cannot play all games at full speed, so performance may vary.
Home Consoles:
Panasonic 3DO *
Atari 2600/5200/7800
Atari Jaguar *
Colecovision
PC Engine (TurboGrafx-16)
PC Engine CD (TurboGrafx-CD)
Nintendo Entertainment System
Famicom Disk System
Super Nintendo
Nintendo 64 *
Sega Master System
Sega Genesis / CD / 32X
Sega Saturn *
Sega Dreamcast *
Neo-Geo / CD
NEC PC-FX
Sony PlayStation
Handheld Consoles:
Atari Lynx
Game and Watch
Nintendo Game Boy
Nintendo Game Boy Color
Nintendo Game Boy Advance
Nintendo DS
Nintendo Virtual Boy
Pokemon Mini
Sega Game Gear
Neo-Geo Pocket / Color
Sony Playstation Portable *
Wonderswan / Color
Home Computers:
Amiga
Amstrad CPC
Atari ST
Commodore 64 (and C16/Plus4/C128)
Intellivision
MSX
PC (DOSBOX)
ScummVM
ZX Spectrum
Arcade Systems:
MAME 2003-Plus
Final Burn Neo
Atomiswave *
Naomi *
When you get ROM files, it would be better to use the “No-Intro” naming convention that is used in RetroArch and other emulation communities as the standard for naming ROM sets. If you use no-intro naming, it is more likely that the box art will be added automatically when you load your games and scrap their media. If you have a question about how a game should be named, I recommend you check the Libretro thumbnails directory. If the name of your game matches the name of the thumbnail in that directory, chances are good that the media for it will download correctly.
An important part of a ROM library is also the maintenance of BIOS files. BIOS Files are system files necessary for some emulators (GBA, Sega CD or PS1) and are helpful to improve accuracy with other systems. These files are copyrighted, so you are on your own to find them, but a quick search for a RetroArch bios pack should put you on the right track.
Here is a listing of the most common BIOS files:
GAME BOY (for boot logo):
gb_bios.bin
GAME BOY COLOR (for boot logo):
gbc_bios.bin
GAME BOY ADVANCE:
gba_bios.bin
FAMICOM DISK SYSTEM:
disksys.rom
NEO GEO:
neogeo.zip (place in the neogeo folder)
SEGA CD:
bios_CD_E.bin
bios_CD_J.bin
bios_CD_U.bin
TURBOGRAFX-CD:
syscard1.pce
syscard2.pce
syscard3.pce
PLAYSTATION 1:
scph1001.bin
SATURN:
saturn_bios.bin
DREAMCAST (place in a folder named “dc”) within the BIOS folder:
dc_boot.bin
naomi.zip (Naomi)
awbios.zip (Atomiswave)
JELOS Setup
JELOS Setup Process
Step 1: When the game console arrives, it’s time to reinstalling the custom software ELOS (Just Enough Linux OS). This provides many additional benefits for the PowKiddy X55 and is updated regularly.
Step 2: Download and install the Balena Etcher. This is a special software application that allows you to flash the JELOS image to your microSD card. Download the latest version of JELOS for the PowKiddy X55. You can find it on the ” Releases” page in the “Installation Package Downloads” section. The file is named “JELOS-RK3566-X55.aarch64-########.img.gz”, where the “#” symbols indicate the date the build was created, and it is about 1 GB in total.
Step 3: Insert your 16 GB micro SD card into your PC using a USB card reader, and then open Balena Etcher. Click the “Flash from File” button and navigate to the location where your JELOS image file was downloaded and select it. On the next tab, “select your 16GB micro SD card under “Destination”. Finally, click the “Flash!” button to start the process. A prompt will appear asking for your permission, just click on it. The card will be flashed and verify your image. Once this is done, you can remove the card from your PC.
Step 4: Insert the 16GB microSD card into the “TF1” slot on the PowKiddy X55, and insert the larger micro SD card into the “TF2” slot. Power on the device and run it through the initial setup. Once you see the main interface of the Emulation Station, press the START button and navigate to Quit > Shutdown System.
Adding ROMs and BIOS Files
Remove the larger microSD card from the TF2 slot and insert it into your PC using a USB reader. On this card you should find a number of subfolders, all named after different systems that will run on the PowKiddy X55. This is where you add your ROM /game files. A listing of each system, the corresponding folders, the accepted file types, and the required BIOS file(s) can be found on this page of the JELOS wiki.
Adding BIOS files can be tricky, but most of them will be included in the “bios” folder on your “TF2” micro SD card. There are some exceptions, for example, the neogeo.zip BIOS file that belongs in the neogeo folder. For best results, refer to the table on this wiki page and the list above.
Games and BIOS files can be added to or removed from your micro SD card at any time, and each time you start the device, it will detect any changes to your game list and update accordingly.
Configuring JELOS
When using JELOS for the first time, I recommend the following steps to set up your device.
Press the START button to access the main menu. From here you can set the options of JELOS.
First, go to Network Settings and check the “Enable Network” option, then add your WiFi credentials to connect to your home network. If you want, you can also enable Samba or SSH for wireless file sharing in this menu.
In the Game Settings section, you can adjust configurations such as the overall aspect ratio and integer scaling. If you are just starting out, I recommend using the default options. One exception is the “Auto Save/Load” option. I recommend setting this to “Show saves when not empty”. This will automatically save your game when you exit, and if there is an auto-save associated with your game when you start it, you will have the option to select that auto-save or start the game from the beginning.
In the Game Settings section, there is an option for advanced configuration per system. Here you can make specific adjustments for a particular console. Here are some scenarios where this might be important:
If you want to change the default emulator for a particular console, you can do so here. For example, the NES uses Nestopia as its default emulator, but you can change it to FCEUMM, QuickNES, or Mesen instead.
You can set a specific aspect ratio for each console, such as 4:3 or 8:7 for SNES.
In the Shader Set section, you can select a shader to load with each console. For pixel-based home console systems like NES and SNES, I recommend an interpolation shader to balance the pixels. Some of my favorites are the Interpolation/Pixellate and Interpolation/Sharp-Bilinear-2x-Prescale shaders. For handheld systems, I recommend using the Handheld/LCD3x shader to create a LCD -like feel.
For the Game Boy, you can set a colorization option to mimic older LCD panels. My favorite is called “Special 1”.”
For harder to use systems like N64, Dreamcast, Saturn and PSP I recommend setting the default CPU Governor to PERFORMANCE to improve the overall speed.
At the end of the Game Settings section you can add your credentials for RetroAchievements.
In the System Settings section you can set your time zone, display options (e.g. saturation level) and update your JELOS firmware.
In the UI settings menu, you can change your theme or configure the current theme. If you want to have a navigation like in the video above, keep the “System Theme”, but in the “Theme Configuration” section, change the system view style to “Multisystem”.
Also in the UI settings menu, you can set the language of the emulation station, swap the A and B keys in the menu, and display the frames per second (FPS) when playing games in RetroArch.
Keyboard Shortcut
There are two sets of hotkeys to consider: those in the main menu (EmulationStation) and those in a game (RetroArch for most systems).
JELOS Keyboard Shortcut:
X while hovering over a game = Quick Menu
X (hold) while hovering over a game = add to favorites
L2 + Volume Up = battery status (voice prompt)
L2 + Volume Down = toggle WiFi on/off
R2 + Volume Up = increase brightness
R2 + Volume Down = decrease brightness
L1 + Start + Select = force close any app
RetroArch Keyboard Shortcut:
Select + Start (2x) = quit game
Select + X = RetroArch quick menu
Select + Y = toggle FPS
Select + R1 = save state
Select + L1 = load state
Select + R2 = fast forward
Select + L2 = rewind (if enabled in Game Settings)
Some emulators have their own hotkeys. For example, to access the menu in Yabasanshiro (the default Saturn emulator), press SELECT. In PPSSPP (PSP emulator), press the L3 key.
Scraping Game Media
Once you have added all your game files, you can scrap the media to improve navigation.
To get started, go to ScreenScraper and create a free account if you haven’t already. Make a note of your login credentials.
On your PowKiddy X55, press START to access the main menu. Navigate to the Scraper section and add your ScreenScraper credentials in the USERNAME and PASSWORD sections.
From there, select what types of media you would like to download. I like to use “Box 2D” as my image source and also check the “Scrape Videos” option. I leave everything else unchecked.
When you are ready to scrape, click the “Next” button, and on the next page, select the “systems you want to scan for media from the “Included Systems” menu. Then click the “Start” button, and the scraping process will begin. Depending on the size of your library, this may take some time.
If you come across games that don’t have suitable visuals, you can hover over the game, press the X key, and select “Scrape” from the quick menu “to scrape the game individually. You will then have the option to change the search terms to find the right game.
Bluetooth Controller Pairing
Setting up Bluetooth controllers is fairly simple. From the main menu, open the Controller & Bluetooth Settings menu. Check the “Enable Bluetooth” option and put your controller into pairing mode (this will depend on your controller’s instructions). Once the controller attempts to pair, select the “Pair a Bluetooth Device” option on your X55. Your controller will be scanned and found, and you should be paired.
Once the controller is paired, navigate to the Controller Mapping section and follow the instructions to pair the buttons on your Bluetooth controller. Finally, configure the settings under “P1’s Controller” and “P2’s Controller” to assign the controller to the correct player as you would like to set up your gaming session.
Now when you turn on your controller, the X55 should automatically find the controller and assign it to the appropriate player.
PortMaster
PortMaster is a powerful tool that allows you to download and install ports directly to your device. These ports can be divided into two options:
Ready-to-run ports. These are games that are freeware or open source. You can download the whole game directly from PortMaster.
Commercial ports. These are games that have been ported to Linux-based devices like the PowKiddy X55, but require commercial files to actually run. You can download the game’s boot/shell files from PortMaster, but then you must add your own commercial files by following the instructions on this page.
To start PortMaster, make sure you are connected to WiFi, then go to Tools > Start PortMaster. Navigate to “All available ports” and download all the games you are interested in, then add all the necessary game data files based on the PortMaster wiki.
Some ports work on the PowKiddy X55, but may not be part of PortMaster, such as TMNT: Shredder’s Revenge and Super Mario 64. Instructions for these games can be found in my ports category on this website.
Where to Buy
Now, Powkiddy X55 game console is available on Geekbuying.com, the 16GB preinstalled on Jelos OS and 64GB with 8,000 games preinstalled. It ships from Chinese warehouse, free shipping worldwide.


