
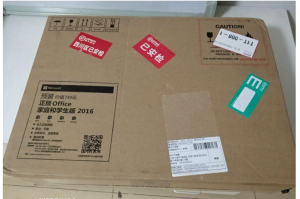
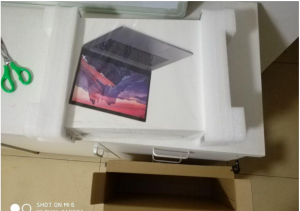
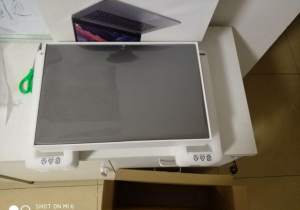
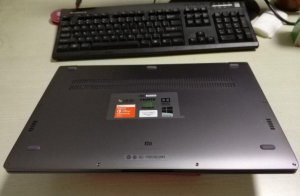
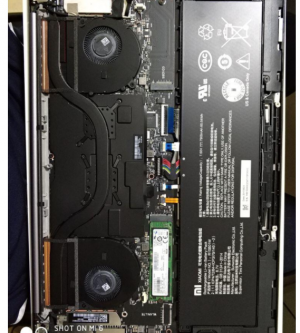
Open Box
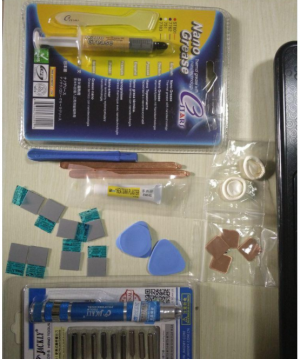
There are the tools and materials:
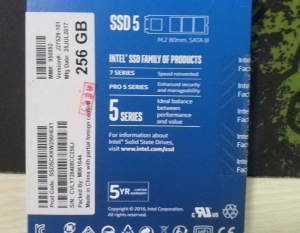
Intel SSD, must be m.2 SATA interface
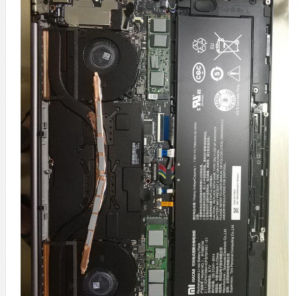
Remember to unplug mainboard power and battery power line while install hard disk
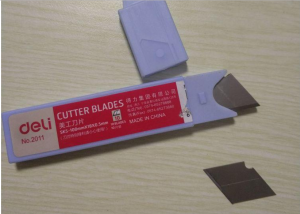
Blade (used to scrape the black lacquer on the original heat copper tube)
Thermal grease for CPU graphics (it will not be used until next year)
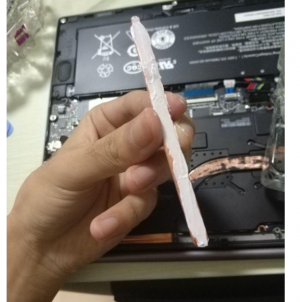
Pry piece, crowbar, screwdriver, brass *2, thermal glue (for sticking copper tube),
Copper sheet, finger sleeve, thermal grease (I bought 8 pieces, more is ok )
Installation of copper Tube
Compare the position length and scrape off the black paint on the original brass tube with the blade.
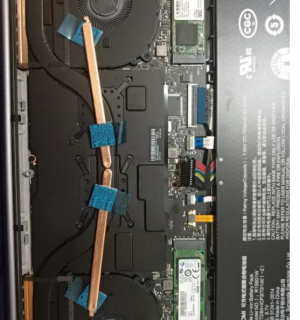
Apply a layer of glue (not too much) to two new brass tubes
Use weights, hold it for about 15 minutes.
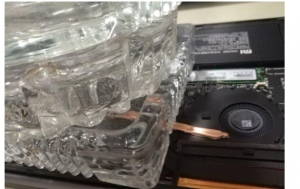
and put a layer of thermal grease on the copper tube and the hard disk particles.
To disperse a portion of the heat onto the metal floor.
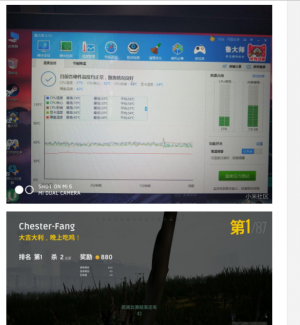
More stable at 60 degrees, before the heat transfer, the temperature between 62-70 fluctuations, and then I used a radiator
+1
+1
+1
+1
